

 It has become an Alchemy-Spetec holiday tradition to re-post this safety blog I wrote a few years ago. Merry Christmas and Happy New Year! (Andy Powell - Alchemy-Spetec Southeast Regional Manager.)
This time of year, most people will spend a little extra time with their loved ones. It is also a time to reflect on the loved ones we miss that are no longer with us. Like most of us, I know people who have either been lost or have suffered through a loss. In those cases, there was nothing that could have been done to stop it. However, there are things that we can do to guard against job-related safety hazards.
I've been fortunate enough to spend time in an OSHA safety training class. It was required in order to be present supervising a project at a chemical facility. Signing in at 6 AM, I’ll admit I was not looking forward to spending all day there. By the end of the day, I was glad that I went.
In an intro video, the narrator said that every morning when you kiss your loved one goodbye before you go to work, keep in mind that someone, somewhere will not come home from work that day. Workplace accidents are almost entirely preventable. Investigations typically find the cause quite easily.
The class I attended contained a dozen or so modules, each one with a video case study followed by the teaching. Every case study module covered a different accident where people didn’t come home from work that day. All of them could have been prevented. I learned about fire, electrical and chemical safety; as well as confined space, ladders, scaffolds, and working in trenches. I have worked in the construction industry since my teenage years, so it was sobering to look back and think about some of the close calls I had.
If you're a contractor or industry-related business owner looking for a good investment, send your employees to one of these classes. It’s an excellent opportunity for them to learn safety principles that can protect you, your other employees, and your business from being lost. It’s a gift that will keep on giving. You don’t need Christmas as a reason to do this, but in the spirit of the season, you may want to make it the reason.
Click here to find an OSHA safety class near you.

 Do you know that leak that returns every year no matter how much hydraulic cement you put on it? Why not make this next time the last time you have to mess with it? Polyurethane grouts have some unique properties that allow them to do things concrete cannot. One of the most glaring is its flexibility.
 Polyurethane foam was first discovered in 1937 by Dr. Otto Bayer who lived in Leverkusen, Germany. Bayer was a German chemist and was the head of the research group that discovered this new material. His fundamental idea of combining small volumes of chemical substances together to react into a dry foam material was viewed to be an impossibility. But after many trials and difficulties, Bayer eventually succeeded in synthesizing the first polyurethane foam.
 The Alchemy-Spetec structural repair product line consists of products for patching, joint filling, spall repair, anchoring, and bonding.
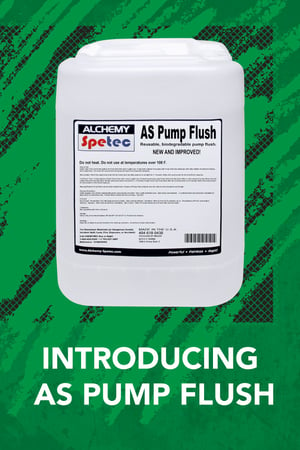 AS Pump Flush is a high-performance pump flush that is friendly to the environment and does an excellent job flushing out injection pumps.
 When an old brick retaining wall in downtown Greenville collapsed and crushed three cars,

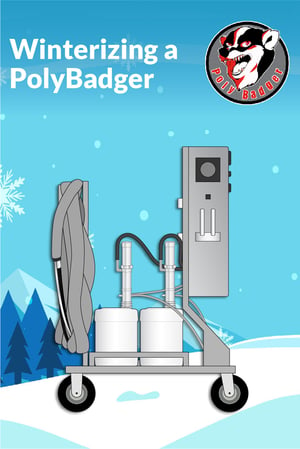 As the weather gets colder, contractors in some regions will need to prepare their

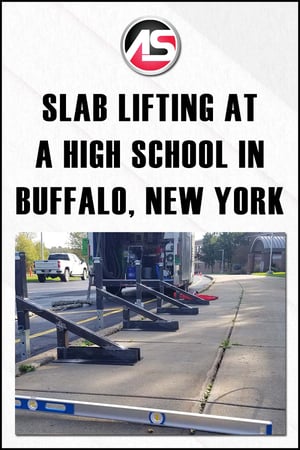 A general contractor working for a school district in Buffalo, New York was asked to lift and level around 550 feet of sidewalk slabs at a local high school. The general contractor called in slab lifting specialists
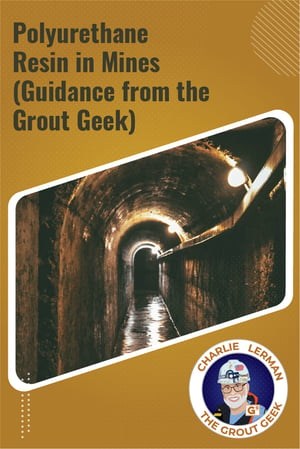 Charlie Lerman, a.k.a. "The Grout Geek", is Alchemy-Spetec's Director of Technical Services - Leak Seal Division. The importance of waterproofing became critical to him while serving on nuclear submarines in the U.S. Navy. With decades of experience in construction and leak seal, Charlie commands unparalleled expertise in grouting techniques and water mitigation.