

 Alchatek proudly supports the Wounded Warrior Project, a nonprofit founded in 2003 to empower post-9/11 veterans with physical or mental injuries, along with their families and caregivers. Its mission is to create the most successful, well-adjusted generation of wounded service members in U.S. history.
Wounded Warrior Project - Origins
The Wounded Warrior Project began in Roanoke, Virginia, when Marine Corps veteran John Melia, injured in a 1992 helicopter crash, saw the needs of returning Iraq and Afghanistan veterans. He and his friends raised $5,000 to deliver backpacks with essential supplies to wounded soldiers at Walter Reed Army Medical Center. From this small act, the Wounded Warrior Project grew into a national organization offering comprehensive support.
Wounded Warrior Project - Services
Now, 22 years later in 2025, the Wounded Warrior Project serves millions through focused programs, including:- Mental Health Support: Workshops, retreats, and counseling to build resilience and community, helping veterans feel less isolated.
- Physical Wellness Initiatives: Adaptive sports, cycling events, and wellness challenges to promote rehabilitation and camaraderie.
- Financial Guidance: Career advice, job placement, and benefits counseling to ensure economic independence.
- Support for Severely Injured Veterans: Ongoing assistance for injured veterans and caregivers, including a resource hub for personalized service connections.
Through partnerships and advocacy, the Wounded Warrior Project drives veteran-friendly policies and collaborates with organizations to expand care. Veterans credit it with transformative opportunities, from adventures to career growth.
Alchatek is deeply honored to have supported this vital mission for over 10 years. In recognition of our commitment, we were humbled to receive a challenge coin from the Wounded Warrior Project, a symbol of our shared dedication to those who’ve served our nation.
Join us in making a difference - click the button below to donate today.

 Kyle, a seasoned sales leader, boasts a rich tapestry of diverse sales experience spanning various industries. His journey into the realm of leadership began with a distinguished tenure in the US Army and US Marine Corps, where he honed his skills in strategic thinking, discipline, and effective communication. The military background instilled in him a profound sense of commitment and a relentless pursuit of excellence, qualities that seamlessly translated into his subsequent career in professional sales. Kyle’s cross-industry expertise has not only broadened his perspective but has also equipped him with a unique skill set that enables him to identify innovative solutions and tailor his approach to meet the specific needs of a diverse clientele.

 Paul is a dynamic and results-driven executive with extensive international management, marketing, business development, strategic planning, market expansion success, and consultation experience across the United States and Latin America.
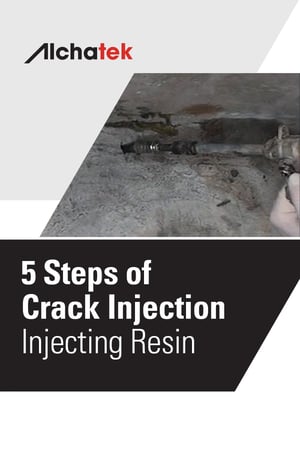 Finally! We are at the last basic step. Now for the fun part - injecting the polyurethane resin. If you only have one pump, be sure to flush the pump out completely with

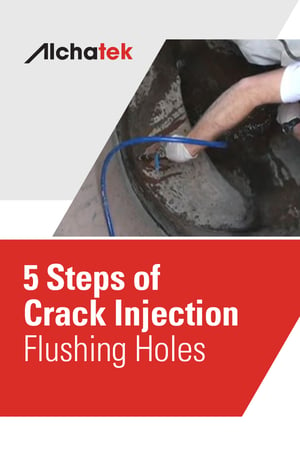
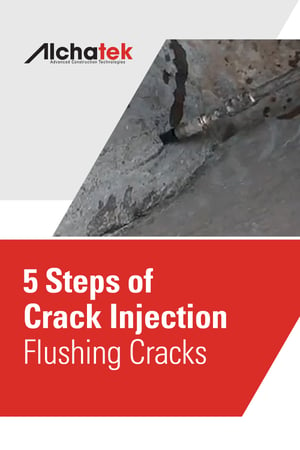 All cracks that aren’t actively leaking at the time you are sealing them need to be flushed out with water. Flushing them gives you several advantages:
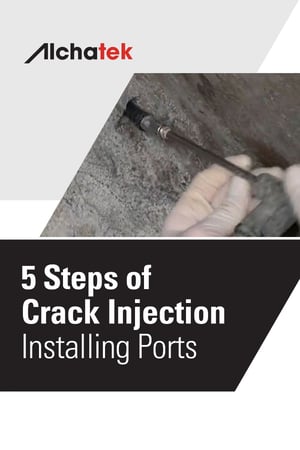 Installing high-pressure injection ports is pretty straightforward, so I won’t spend too much time on this topic. Just a few quick tips.
 Here it is. My favorite topic. Why? Because it is my pet peeve. It separates the technicians who care from those who are only going through the motions. Quite frankly, it can be the difference between a successful outcome and dismal failure - or at the very least an expensive callback.
.jpg?width=1400&height=425&name=Banner%20-%205%20Steps%20of%20Crack%20Injection%20-%20Drilling%20Holes%20(Continued).jpg)
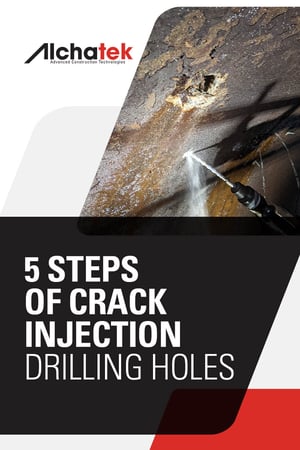
.jpg?width=300&height=450&name=Body%20-%205%20Steps%20of%20Crack%20Injection%20-%20Drilling%20Holes%20(Continued).jpg) Let’s face it, most of the structures you drill through will be full of rebar. Rebar is the steel reinforcement that gives the structure its strength. Concrete protects the rebar by shielding it from moisture, and the high pH of concrete keeps the rebar from rusting. However, once a crack forms it allows more water and environmental gasses to reach the area surrounding the rebar. Carbonation of the concrete can now occur which causes the pH to drop and the corrosion process to begin. The rust expands and takes up 15 times the volume of the un-corroded steel which causes tensile forces to work against the concrete eventually resulting in additional cracking and spalling. Hopefully, you will be called in to fix the leaks before much of this damage occurs.
Let’s face it, most of the structures you drill through will be full of rebar. Rebar is the steel reinforcement that gives the structure its strength. Concrete protects the rebar by shielding it from moisture, and the high pH of concrete keeps the rebar from rusting. However, once a crack forms it allows more water and environmental gasses to reach the area surrounding the rebar. Carbonation of the concrete can now occur which causes the pH to drop and the corrosion process to begin. The rust expands and takes up 15 times the volume of the un-corroded steel which causes tensile forces to work against the concrete eventually resulting in additional cracking and spalling. Hopefully, you will be called in to fix the leaks before much of this damage occurs.
 I remember my first day on the job back in June of 1985. We were working nights in the subway tunnels of Atlanta, sealing leaks in the ceiling. The crew handed me a 30-pound hammer drill and told me to drill holes in the ceiling at a 45-degree angle. Sure, what the heck is a 45-degree angle? I put on a lot of muscle that summer drilling overhead and hauling 50-pound pails of resin all over the Southeastern U.S.
 There are five basic steps to be done when placing a crack injection. This is crack injection 101. Learn these steps and you will be well on your way to understanding what it takes to seal a water leak in concrete with products such as