 This post is part of the Alchemy-Spetec Contractor Lens series, featuring views, news & case studies written by our customers. This article, written by Brian Dalinghaus of Dalinghaus Construction, contrasts polyurethane slab lifting vs mudjacking (lifting slabs with a mortar-based mixture of "mud" or "slurry"). If you're an Alchemy-Spetec customer and you'd like to discuss writing content for our blog, please send an email to marketing@alchemy-spetec.com today!
Do you have a sinking slab that needs a lift? There are two primary lifting services in the construction industry capable of lifting, stabilizing, and leveling your foundation/flatwork: polyurethane injection and mudjacking.
If you read our blog, keep up with our Instagram, or watch our Youtube channel, then you’ve undoubtedly heard a lot about polyurethane…but not much about mudjacking.
This is because we tend not to write extensively on services we do not provide – however, in this article, we are going to analyze the 3-key benefits of polyurethane slab lifting over mudjacking:
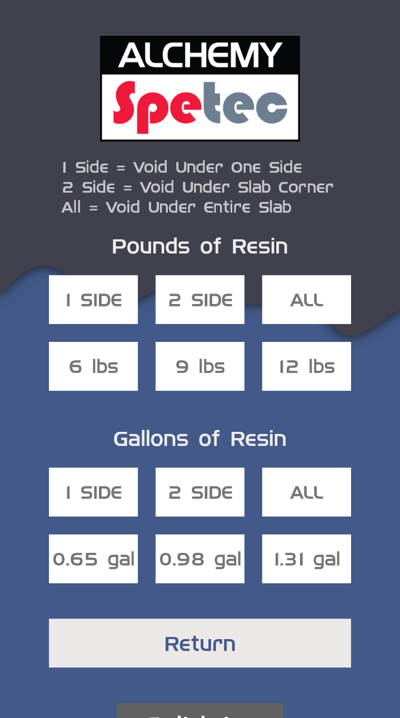
- Lighter Weight
- Smaller Hole Size for Application
- Faster Cure Time
What is Mudjacking?
Mudjacking is the lifting or leveling of a structure, driveway, or slab of concrete by pumping a mixture of slurry (with incredibly high pressure) underneath a sunken slab.
Polyurethane Weighs Less
Polyurethane weighs 2-4 pounds per cubic foot. Mud can weigh as much as 100 pounds per cubic foot. Weight is important because it can act as an anchor, sinking an already settling ship.
Polyurethane can help stabilize soil by adding rigidity – mudjacking simply packs on more weight. Yes, mudjacking is extremely effective at lifting settled flatwork and is attractive because of its relatively cheap cost, but it is not a long-term solution.
The mud will eventually settle into the expansive soil.
Polyurethane floats on expansive clays and only settles when the soil beneath it gives way. Polyurethane is lightweight, dense, and incredibly strong.
Polyurethane relies on the expansive pressure for the lift. Mudjacking relies on installation pressure.
Fun Facts with Brian – Polyurethane expands kind of like shaving cream after leaving a can, allowing it to fit perfectly into crooks and crannies as it balloons outward.
Polyurethane Utilizes Smaller Application Holes
Polyurethane and Mudjacking follow the same three-step system: Drill, Pump, Patch.
The biggest difference in the system itself is the size of the application hole.
Poly & Mudjacking’s Three Steps –
- Drill – Drill into the concrete (often in a grid pattern)
- Pump – Void fill the hole with a slurry application gun
- Patch – Patch holes and color code the concrete to match
The polyurethane injection site hole is only 3/8" to 5/8” (depending on the type of injection), whereas mudjacking injection holes are 2 to 3 inches.
Unless you want your driveway looking like a Dalmatian, we suggest utilizing polyurethane. The patched injection sites are far less noticeable.
In addition, mudjacking can prove a bit of a mess, with excess slurry slurping out of cracks and crevices. The polyurethane foam, once dry, is easy to square off with a boxcutter.
Polyurethane Cures Faster Than Mud
Polyurethane cures quickly, solidifying up to 90% full strength in 15 minutes. In contrast, mudjacking slurry shot underneath the slab is never exposed to sunlight (thus taking a much longer time to cure).
The truth is: slurry can take several days to a week to dry. And, fun fact about concrete, it never really fully cures.
Why Choose Polyurethane Injection?
Polyurethane is lightweight, easy to install with little chance of a mess, and cures incredibly fast. Mudjacking, on the other hand, is not a permanent fix and can sink your flat-work.
If you live in Southern California or Central Arizona and would like a FREE void fill inspection, click the link below -

Want more information on polyurethane slab lifting?


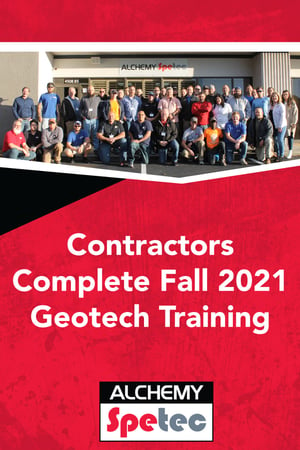 On October 26th - 28th, Contractors across North America traveled to Alchemy-Spetec HQ in Tucker, GA for a thorough education in Slab Lifting, Soil Stabilization, the Deep Lift® process, equipment, and applications. They received hands-on training from a technical staff with decades of on-the-job experience.
 Alchemy-Spetec's
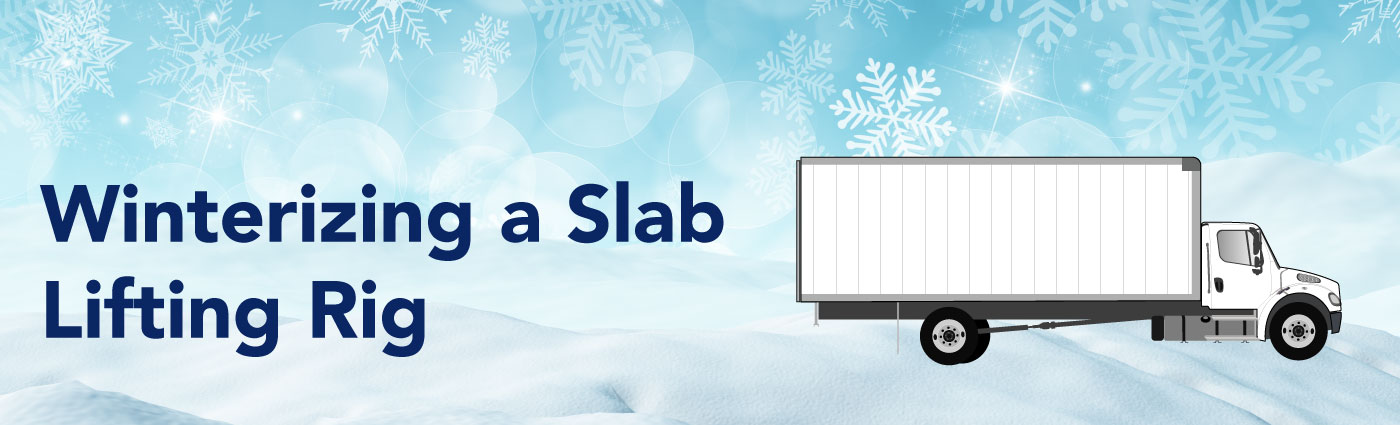
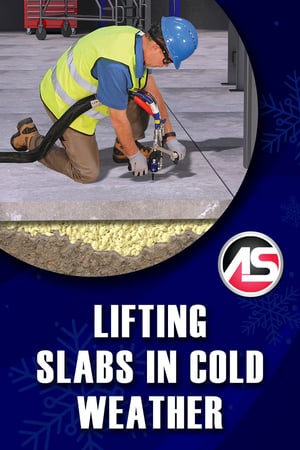
 As the weather gets colder, contractors in some regions will need to prepare their slab lifting rigs for storage during the off-season. We're providing step-by-step instructions for that procedure in this article.
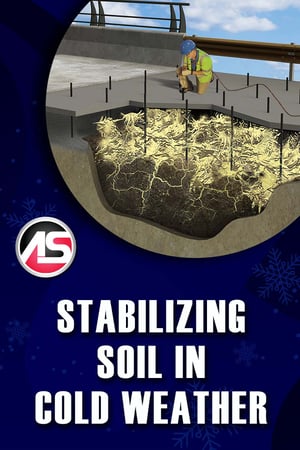 It's that time of year again. As temperatures drop, take a moment to review this previously posted article packed with cold-weather tips.

 It's that time of year again. As temperatures drop, take a moment to review this previously posted article packed with cold-weather tips.

 It's that time of year again. As temperatures drop, take a moment to review this previously posted article packed with cold-weather tips.
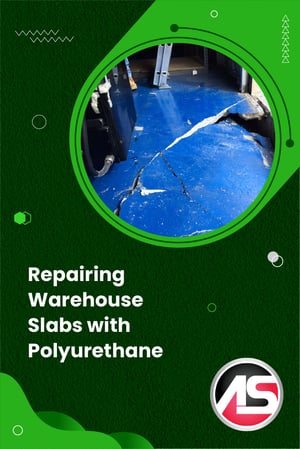 The warehouse slab/floor repair market can be a goldmine for contractors. Most major metro areas contain endless square miles of warehouse space. That's why we've posted a good number of warehouse floor and slab repair articles on this blog over the years. In this post, we'll introduce and link to the best Alchemy-Spetec warehouse slab repair articles.
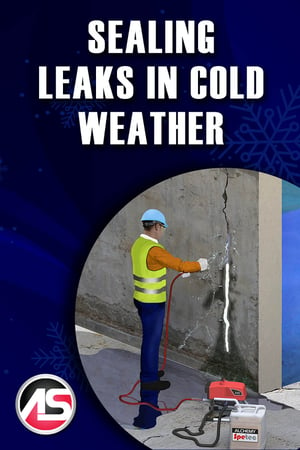
 Charlie Lerman, a.k.a. "The Grout Geek", is Alchemy-Spetec's Director of Technical Services - Leak Seal Division. The importance of waterproofing became critical to him while serving on nuclear submarines in the U.S. Navy. With decades of experience in construction and leak seal, Charlie commands unparalleled expertise in grouting techniques and water mitigation.