

 Do you know that leak that returns every year no matter how much hydraulic cement you put on it? Why not make this next time the last time you have to mess with it? Polyurethane grouts have some unique properties that allow them to do things concrete cannot. One of the most glaring is its flexibility.
I like to ask the question, "What is the difference between a joint and a crack?" A joint was engineered by humans while mother nature adds her cracks where the engineer did not see the need for one. They allow the concrete the ability to flex a bit as needed. These cracks can be caused by temperature changes, loading, and unloading, or even a difference in the coefficient of expansion of dissimilar materials, like a metal pipe in a concrete wall.
So, as you pick up that bucket of hydraulic cement, ask yourself, "Is this a dynamic leak? Is movement the issue at hand?" More often than not, movement is the issue and the solution is a flexible polyurethane grout. Spetec PUR GT500 and Spetec PUR F400 are two of the main Alchemy-Spetec grouts used in parking garages, elevator pits, and such. Spetec PUR GT380 is the main grout when it comes to sewers, wet wells, and the like. All of these grouts are highly flexible, NSF 61 certified for contact with drinking water, and allow the concrete to move without allowing it to leak.
Another misconception is that a repair material needs to be dry to effectively waterproof a structure. With polyurethanes that is completely wrong. We want and require water present when injecting the urethane grouts.
So, in summary, the best practice is to quit using hydraulic cement in situations where it will fail because of movement. Instead, waterproof once and effectively with a flexible polyurethane grout and be done with it.
Want more information on leak seal products and equipment?

 Polyurethane foam was first discovered in 1937 by Dr. Otto Bayer who lived in Leverkusen, Germany. Bayer was a German chemist and was the head of the research group that discovered this new material. His fundamental idea of combining small volumes of chemical substances together to react into a dry foam material was viewed to be an impossibility. But after many trials and difficulties, Bayer eventually succeeded in synthesizing the first polyurethane foam.
 The Alchemy-Spetec structural repair product line consists of products for patching, joint filling, spall repair, anchoring, and bonding.

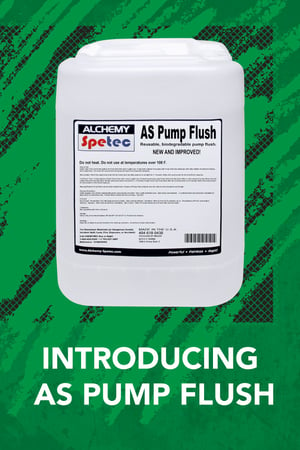 AS Pump Flush is a high-performance pump flush that is friendly to the environment and does an excellent job flushing out injection pumps.
 When an old brick retaining wall in downtown Greenville collapsed and crushed three cars,

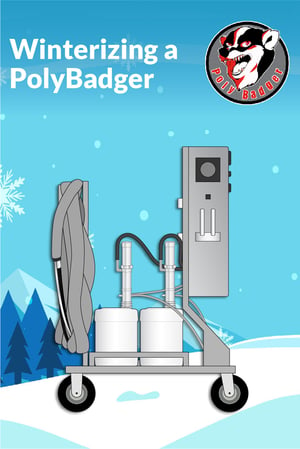 As the weather gets colder, contractors in some regions will need to prepare their

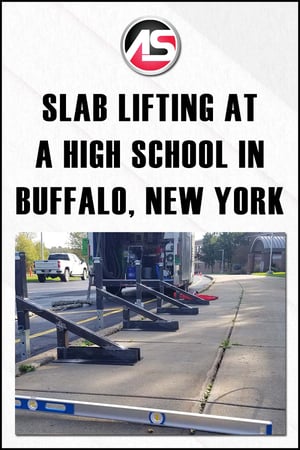 A general contractor working for a school district in Buffalo, New York was asked to lift and level around 550 feet of sidewalk slabs at a local high school. The general contractor called in slab lifting specialists
 Charlie Lerman, a.k.a. "The Grout Geek", is Alchemy-Spetec's Director of Technical Services - Leak Seal Division. The importance of waterproofing became critical to him while serving on nuclear submarines in the U.S. Navy. With decades of experience in construction and leak seal, Charlie commands unparalleled expertise in grouting techniques and water mitigation.
 On October 26th - 28th, Contractors across North America traveled to Alchemy-Spetec HQ in Tucker, GA for a thorough education in Slab Lifting, Soil Stabilization, the Deep Lift® process, equipment, and applications. They received hands-on training from a technical staff with decades of on-the-job experience.
