

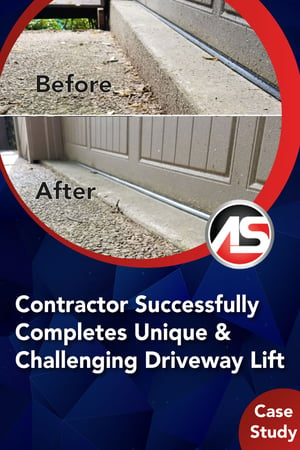
 A homeowner called Home Energy Professionals in Tennessee with an interesting driveway problem. There was an 8-inch drop at the point where the driveway met the edge of the garage floor. That was enough to prevent the resident from getting their car into the garage at all. The homebuilders did not extend a nearby gutter downspout far enough away from the driveway. Rainwater caused erosion under the slabs, causing them to sink over time. What made this case unique was the fact that the final slab (closest to the garage) in this 20-foot-wide driveway was only two feet long. Slabs with such narrow dimensions are notoriously difficult to lift evenly. Due to the unusual nature of this job, they called in Alchemy-Spetec’s Colt Hullander (Director of Technical Services – Geotech Division) as a consultant.
Powerful Polymers
The Home Energy Professionals crew used AP Lift 430, a two-component, high strength, high density, hydro-insensitive structural polyurethane foam. They chose AP Lift 430 because it’s one of the most consistently reliable lifting foams in the industry. This high-density foam is extremely strong, providing concrete slabs and structures with reliable and lasting support.
Painless Procedures
The crew drilled their first injection hole about 3 feet from one edge of the slab, right in the middle of the 2-foot length (about 1 foot in from both edges). They lifted this end of the slab for about 2 inches and then stopped. Lifting any further at this point would likely have cracked the slab. Next, they drilled another hole about 6 feet in from the edge and repeated the process. When they reached the end of the 20 feet, they started again – redrilling that first hole and lifting another 2 inches. With this gradual injection process, they carefully raised the slab 8 inches and leveled it off with the garage floor. They then moved on to lift the other, conventionally sized slabs in the rest of the driveway.
Rapid Results
This challenging slab lift job was completed in just 3 hours. Fifteen minutes after the injections were completed, the homeowner was able to drive their car across the newly leveled driveway and into the garage. The crew at Home Energy Professionals had another successful job in the books!
Want more information on lifting slabs?


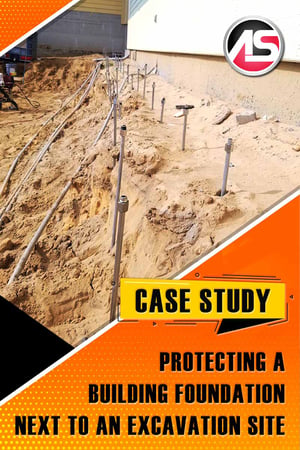 A general contracting company working on an excavation job for a new sea turtle habitat at

 A couple of recent judgments in slip and fall cases should concern any property owner with slip OR trip risks on the premises.

 Planners at Washington D.C.’s water utility,

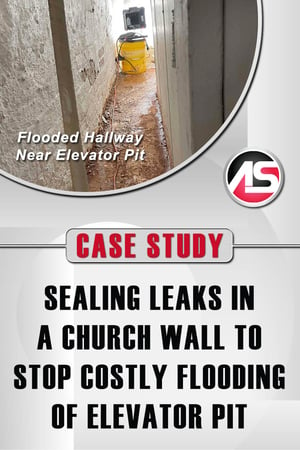 The administrators of a church in Kingston, New York discovered water leaking through a wall into a hallway. The leak was located right next to the elevator. As water seeped into the elevator pit, it became flooded. Elevator pits often contain oil from hydraulic leaks in the equipment. Disposing of that oily water over and over can cost a property owner tens of thousands of dollars over time. The administrators reached out to
 The owners of a valuable one-story house in New Jersey decided to add a second story to the structure. Unbeknownst to them (and to the contractor who worked on the project) four feet of the soil beneath the foundation had been poorly compacted by the home builder. When the second story was added, the soil could not support it and the foundation was critically damaged. The foundation issue caused the structure to shift a bit, which then caused roof damage as well.
 Aging infrastructure is a common problem in municipalities across North America. Wastewater treatment tanks with leaking cracks are a particularly serious problem because the result is often environmental contamination. Administrators at a wastewater treatment plant in New York City contracted
 This article is an excerpt from
 Alchemy-Spetec is pleased to announce the opening of a Western region manufacturing facility and grout lab in Reno, Nevada. Leak Seal and Geotech products are both currently stocked at this new location. Customers in the Western states will benefit from faster shipments. Alchemy-Spetec’s industry-leading tech support team will offer training programs and grout labs at the Reno location in the near future.
 This article is an excerpt from