 Alchatek's AP Lift foams are specialized materials utilized in a variety of construction and repair tasks. These foams have a unique characteristic where their expansion and strength are inversely proportional. This means that as the expansion of these foams increases, their compressive strength decreases, and the opposite is also true. This unique property allows Alchatek's comprehensive selection of foams to be used for a wide variety of applications, from filling expansive voids, to compressing soil, and commercial slab lifting.
Expansion & Strength
The key to understanding AP Lift foams lies in their expansion-strength relationship. AP Fill 420/Deep Lift 420, for example, has the highest expansion, making it the most economical product for filling a void. However, it also has the lowest compressive strength. On the other hand, AP Lift 475 expands less than half the amount of AP Lift 420, but its compressive strength is 370% stronger.
It's important to note that these expansion rates and compressive strengths are based on free rise foam. Free rise refers to the condition in which the material is allowed to expand with no resistance - for example, foam that was mixed and expanded in an open cup. In most practical applications, these products are injected into the soil or into a void that is closed off on most sides. The foam meets resistance as it expands, which reduces the amount of expansion and therefore increases the compressive strength. The degree to which expansion is reduced varies from job to job and is influenced by factors like soil conditions, void size and shape, and the quantity of material injected.
Product Application Guide
While each product can be used in multiple applications, here is a quick guide to product selection:
-
AP Fill 420/AP Deep Lift 420: Ideal for filling large voids and for use in the Deep Lock® process. It provides an expansion of 4.25 ft³ / gal and compressive strength of 4032 psf. It has an approximate weight of 2 lbs / ft³
-
AP Lift 430: Recommended for residential slab lift applications. It expands at 3.20 ft³ / gal and has a compressive strength of 7200 psf. Its approximate weight is 3 lbs / ft³.
-
AP Lift 435: Perfect for warehouse slab lift applications. It provides an expansion of 2.80 ft³ / gal and a compressive strength of 9216 psf. It weighs around 3.5 lbs / ft³.
-
AP Lift 440: Used for highway concrete slab lift applications. It expands at 2.40 ft³ / gal and has a compressive strength of 11520 psf. It has an approximate weight of 4 lbs / ft³.
-
AP Lift 475: Suitable for heavy-duty slab lift applications. It offers an expansion of 2.00 ft³ / gal and a compressive strength of 14000 psf. It weighs approximately 4.75 lbs / ft³.
All these products are designed to work in wet environments, making them versatile for various conditions.
Additional Resources
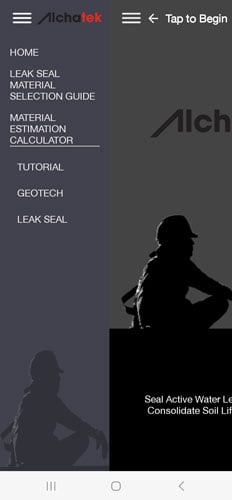
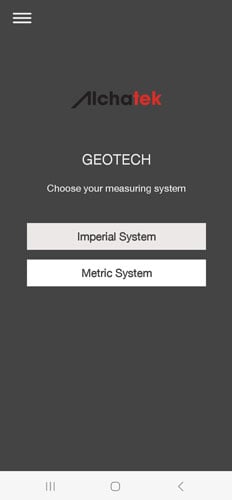
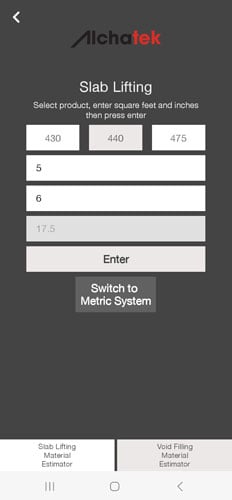
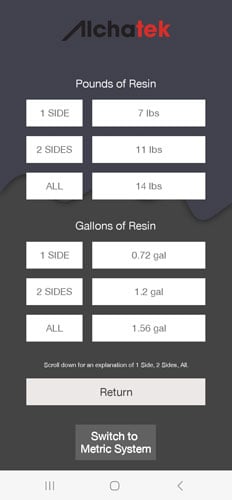
For help calculating product quantities, you can search the word "Alchatek" on Google Play or the Apple App Store and download the Alchatek material estimating app. This tool can assist you in determining the right amount of AP Lift foam needed for your specific project.
Understanding the properties and applications of AP Lift foams can significantly increase the margin and reduce the costs of your construction or repair projects. By leveraging the unique expansion-strength relationship of these materials, you can select the right product for your specific needs, whether it's filling large voids, lifting driveways, or handling commercial slab lifting applications. With the help of our experienced team and tools like the Alchatek estimating app, you can calculate the required quantities, making your work easier, simpler, and more profitable.
The key to successful application lies in understanding the conditions of your project and choosing the right AP Lift foam product accordingly. Whether you're dealing with wet environments or specific soil conditions, there's an AP Lift foam designed to meet your needs.
Want more information on geotech products and equipment?


 Alchatek offers
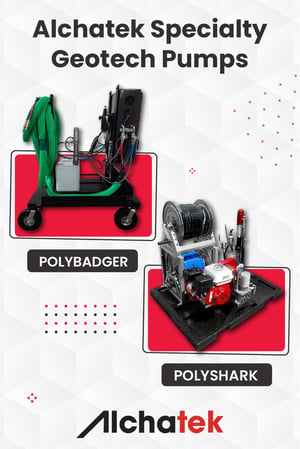 Alchatek offers world-class custom-built pump systems for both slab lifting and soil stabilization applications. If you're looking for a
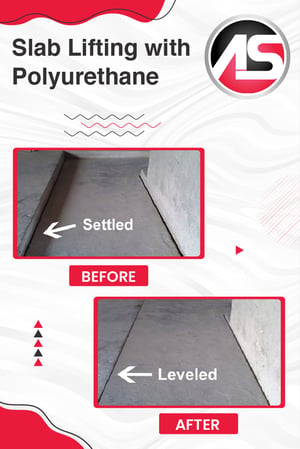 Slab Lifting Overview


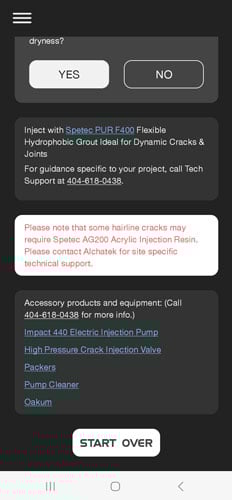
 Repair Cracks and Joints in Concrete