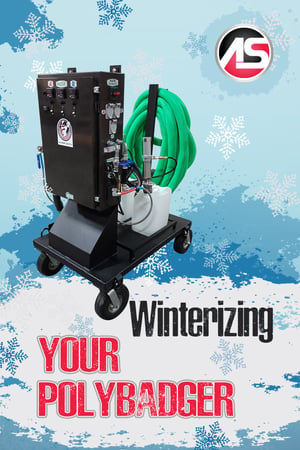
 As the weather gets colder, contractors in some regions will need to prepare their PolyBadger Lifting Systems for storage during the off-season. We're providing step-by-step instructions for that procedure in this article.
Prepping a PolyBadger for Winter Storage
- Establish power to the cabinet and heat the hose (A heater, B heater, and hose) to the target temperature of 130° F.
- Introduce material to the cabinet.
- Turn the air supply on and recirculate to heat up the ISO and resin.
- Once the PolyBadger is up to temperature, turn off the air supply and remove the airlines from the stick pumps.
- Remove the supply and the recirculation line from the A-side stick pump.
- Drain all the remaining material from the pump and clean it with brake cleaner.
- Place the stick A side stubby stick pump into a 5-gallon pail of the AS Pump Flush.
- Reconnect the supply line and leave the recirculation line to drain in a purge pail.
- Repeat steps 5-8 on the B-side stick pump.
- Reconnect the air supply to the stick pumps, hold the return lines in a purge pail, and slowly open the air valve on the stick pumps.
- You will notice material slowly pushed out of the recirculation line into the purge pail. Continue to pump AP Flush 121 through the system until it comes out of the recirculation line clear, with no added color or debris.
- Shut the air valve supplying the stick pumps. This will stop the flow of material.
- Reconnect the recirculation lines to the appropriate stick pump and tighten.
- Turn the recirculation pump valves to supply the hose.
- You can remove the Handi Gun or leave it on for this stage, holding the hose in the purge pail. Turn on the supply valves on the end of the hose just before the Handi Gun. Slowly open the air valve on the stick pumps and pull the trigger on the gun.
- You will notice material slowly pushed out of the hose line into the purge pail. Continue to pump AP Flush 121 through the system until it comes out of the hose line clear, with no added color or debris.
- Shut the air valve supplying the stick pumps. This will stop the flow of material.
- Remove the stick pumps from the AS Pump Flush. (Make sure to mark your pails A and B for future use).
- Insert stick pumps into AP Pump Saver 195. (Make sure to mark your pails A and B for future use)
- Push the AP Pump Saver 195 through the hose line. You will notice the AS Pump Flush slowly pushed out of the hose line into the purge pail. Continue to pump AP Pump Saver 195 through the system until it comes out of the hose line clear (you will notice a thick, clean fluid).
- Turn off the supply valves on the hose just before the Handi Gun.
- Disconnect the air supply to the stick pumps.
- Move the hose supply valve into the recirculation position to depressurize the system.
- Shut off supply valves to the cabinet.
- Turn off heat zones.
- Turn off the main disconnect.
- Remove residual grease from interior cabinet pumps.
- Replace with new grease.


