

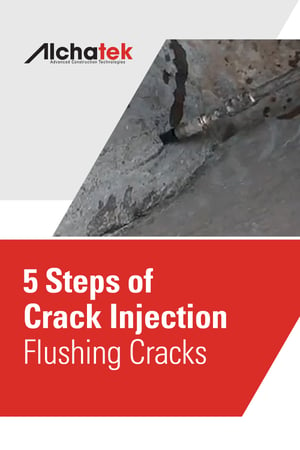
 All cracks that aren’t actively leaking at the time you are sealing them need to be flushed out with water. Flushing them gives you several advantages:
- Lets you know whether your drill holes have intersected the crack.
- Flushes dirt and debris out the surface of the crack so your resin has a cleaner internal surface to bond to.
- Reveals how far you can expect the resin to travel so you know if your drilled holes are close enough together.
- The water will help open up tight cracks that the thicker resin may not otherwise have been able to penetrate.
- Ensures that the resin has sufficient moisture to react with.
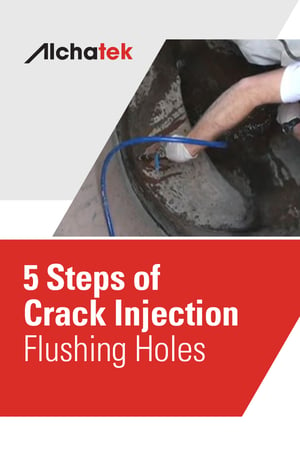
Start at the lowest point in the crack and flush clean water through your injection ports. It is best to have at least two pumps onsite. One for pumping water and one for pumping resin. Use the same type of high-pressure pump that you use for resin. You can use a smaller pump if you like, as long as it is capable of generating between 2,800 and 3,500 p.s.i.
BE CAREFUL when flushing tight cracks! The low viscosity of water coupled with the high pressure of the pump can shear the concrete. The water can push into tight cracks and capillaries and all at once split your concrete. You can also shear concrete with resin, but it is more likely to happen with water because you are testing your crack and trying to open it up.
Always start every port with the lowest pump pressure and slowly turn it up as necessary. Also, slowly crack the valve open when you are first injecting water or resin. This is a critical moment in the process. If you forget to turn the pump pressure down after each port, you risk blasting high pressure into the port all at once which can result in shearing of the concrete or blowing out the port.
Keep injecting water as long as it is flowing through the port and moving further and further along the crack. Monitor the water coming out of the crack. Notice if it is clean or cloudy. Keep injecting until it comes out clean.
If the project is big enough, you can have one technician injecting water and another injecting resin right behind. Personally, I like to do both steps myself. That way I know what to expect when injecting the resin. In any case, keep the water pump nearby. Many times you will have to pop another hole in the wall here and there to completely seal the crack with resin.
5 Steps of Crack Injection - Overview
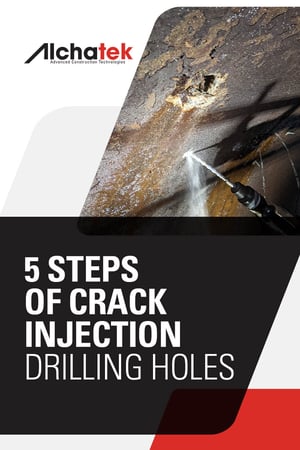
5 Steps of Crack Injection - 1. Drilling Holes
5 Steps of Crack Injection – 1. Drilling Holes (Continued)
5 Steps of Crack Injection – 2. Flushing Holes
5 Steps of Crack Injection – 3. Installing Ports
5 Steps of Crack Injection – 4. Flushing Cracks
5 Steps of Crack Injection – 5. Injecting Resin
Want in-depth info on crack injection procedures and products?


 Here it is. My favorite topic. Why? Because it is my pet peeve. It separates the technicians who care from those who are only going through the motions. Quite frankly, it can be the difference between a successful outcome and dismal failure - or at the very least an expensive callback.
.jpg?width=1400&height=425&name=Banner%20-%205%20Steps%20of%20Crack%20Injection%20-%20Drilling%20Holes%20(Continued).jpg)
.jpg?width=300&height=450&name=Body%20-%205%20Steps%20of%20Crack%20Injection%20-%20Drilling%20Holes%20(Continued).jpg) Let’s face it, most of the structures you drill through will be full of rebar. Rebar is the steel reinforcement that gives the structure its strength. Concrete protects the rebar by shielding it from moisture, and the high pH of concrete keeps the rebar from rusting. However, once a crack forms it allows more water and environmental gasses to reach the area surrounding the rebar. Carbonation of the concrete can now occur which causes the pH to drop and the corrosion process to begin. The rust expands and takes up 15 times the volume of the un-corroded steel which causes tensile forces to work against the concrete eventually resulting in additional cracking and spalling. Hopefully, you will be called in to fix the leaks before much of this damage occurs.
Let’s face it, most of the structures you drill through will be full of rebar. Rebar is the steel reinforcement that gives the structure its strength. Concrete protects the rebar by shielding it from moisture, and the high pH of concrete keeps the rebar from rusting. However, once a crack forms it allows more water and environmental gasses to reach the area surrounding the rebar. Carbonation of the concrete can now occur which causes the pH to drop and the corrosion process to begin. The rust expands and takes up 15 times the volume of the un-corroded steel which causes tensile forces to work against the concrete eventually resulting in additional cracking and spalling. Hopefully, you will be called in to fix the leaks before much of this damage occurs.
 Inflow and Infiltration (I&I)

 I remember my first day on the job back in June of 1985. We were working nights in the subway tunnels of Atlanta, sealing leaks in the ceiling. The crew handed me a 30-pound hammer drill and told me to drill holes in the ceiling at a 45-degree angle. Sure, what the heck is a 45-degree angle? I put on a lot of muscle that summer drilling overhead and hauling 50-pound pails of resin all over the Southeastern U.S.
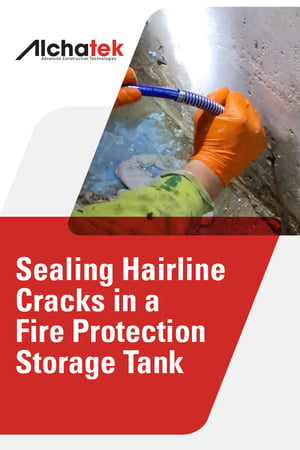 A general contractor working on new luxury apartment construction in Queens, NY reached out to a local leak seal specialist after discovering hairline cracks in the base joint of a fire protection storage tank. (A fire protection storage tank stores water for use in fire suppression systems.)


 There are five basic steps to be done when placing a crack injection. This is crack injection 101. Learn these steps and you will be well on your way to understanding what it takes to seal a water leak in concrete with products such as
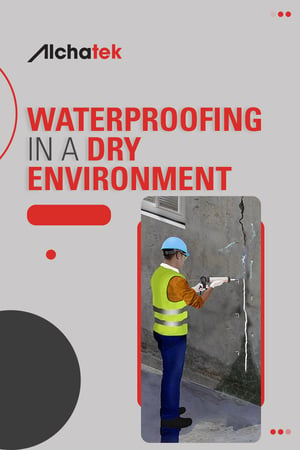 If you're a leak seal contractor, you may be familiar with this situation: A property owner with leaking concrete calls you up and says, "Hey, everything is dry right now, so I want to get someone out here to go ahead and waterproof the structure." Attempting a waterproofing job when the structure is completely dry is not recommended.
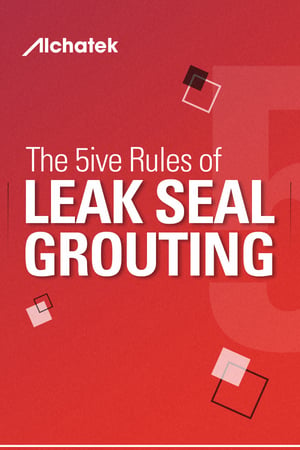 Polyurethane grouting is a complex process that involves numerous specifications and guidelines. However, amidst the vast amount of information, there are five fundamental rules that lie at the core of all successful polyurethane grouting projects. We will explore these rules, highlighting their significance in achieving desired outcomes.
 In this article, we’re comparing the use of epoxies and polyurethanes for waterproofing. This is not a battle of good versus evil, but rather a discussion about their differences and when to use each type of material.