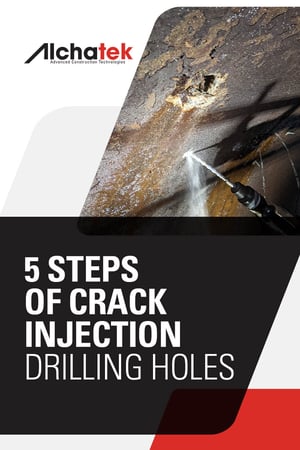
 I remember my first day on the job back in June of 1985. We were working nights in the subway tunnels of Atlanta, sealing leaks in the ceiling. The crew handed me a 30-pound hammer drill and told me to drill holes in the ceiling at a 45-degree angle. Sure, what the heck is a 45-degree angle? I put on a lot of muscle that summer drilling overhead and hauling 50-pound pails of resin all over the Southeastern U.S.
Drilling holes into concrete seems like a straightforward process. However, it must be done correctly or everything you do afterward is a waste of time. Often, contractors put their least experienced technician on that job because it is manual labor and can be taught quickly. But knowing a few of the basics can help a newbie drill like an expert.
First, you have to understand that the beginning of the hole is where the injection port makes its seal against up to 3,000 pounds per square inch of injection pressure. It is important that the hole stay round, especially when using hammer in type ports. That means you have to keep the drill bit in a straight line.
Why a 45-degree angle? This is the best way to intersect the crack halfway through the structure (which is your goal). For example: On a 10” thick wall, come off the crack 5”, drill at a 45-degree angle and you should hit your target. Just start with your drill bit straight into the wall, give the trigger a few bumps to make an indention in the concrete with the bit, and rotate your drill so that the angle is halfway between your starting position and the wall.
How far apart should you space your holes? It depends on the width of the crack. Tighter cracks need tighter spacing because the resin won’t travel as far. Wider cracks can have wider spacing because the resin will travel with ease. A rule of thumb is to drill your holes no farther apart than the thickness of the concrete. Drill, flush, and pump a test hole with water to get an idea of how far the resin will travel.
Be sure to pull the drill bit out every four or five inches of penetration to clean out the drilling dust. Otherwise, you are likely to bind up your drill bit, which is not fun to try to remove.
Sometimes you will have to drill straight into the crack. I always try to angle drill first, but with extremely tight cracks you may have to compromise and drill straight in. Go as deep as you can, but make sure you don’t go all the way through.
Another tip: If you stagger your holes from one side of the crack to another, be sure not to intersect a hole you already drilled. This causes all kinds of problems.
We will talk about flushing drilling dust out of your holes later, but I can’t repeat it enough. If you want a successful injection job you have to flush the drilling dust out of the holes from the back. Otherwise, the dust will form a paste that gets forced into the crack and blocks your resin from getting where it needs to be. Splashing water on the front of the hole doesn’t really help. Be sure to get a small hose to the back of the hole and flush it with clean water.
In the next article, we'll take a look at what to do when you inevitably hit the injection contractor's nemesis...rebar!
5 Steps of Crack Injection - Overview
5 Steps of Crack Injection - 1. Drilling Holes
5 Steps of Crack Injection – 1. Drilling Holes (Continued)
5 Steps of Crack Injection – 2. Flushing Holes
5 Steps of Crack Injection – 3. Installing Ports
5 Steps of Crack Injection – 4. Flushing Cracks
5 Steps of Crack Injection – 5. Injecting Resin
Want in-depth info on crack injection procedures and products?


