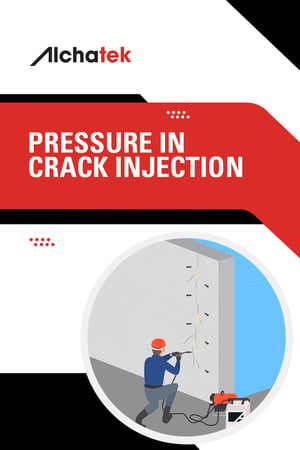
 “At what pressure am I going to inject the grout?” This question is not only common but also crucial on leak seal jobs, as it directly impacts the quality of your work. The answer, however, is not as straightforward as one might hope. The optimal pressure for injection is as low as possible. However, the exact pressure cannot be determined until the injection process begins.
Hairline Cracks
When dealing with urethane and hairline cracks, the pressure required is generally on the high end. This is where the technical expertise comes into play. If the pressure is too high, there is a risk of spalling the concrete, which can lead to further damage. To mitigate this risk, one might consider switching to an acrylate-type product. Acrylate, being almost as thin as water, penetrates hairline cracks more effectively, thereby reducing the risk of spalling.
Process of Injection
As a rule of thumb, the process begins by connecting to the port, whether for crack injection or curtain grouting. The ball valve is opened while the pump is off. Once the pump is turned on, the pressure is gradually increased until a steady flow rate is achieved. This process requires a keen eye and a steady hand, reinforcing the importance of technical expertise in this field.
The Concept of Exploratory Grouting
The in world of crack injection, there is a concept known as exploratory grouting. This process involves intentionally creating one small crack to understand the wall’s resistance. Typically, walls start cracking around 1500 PSI, although this can vary, with some walls withstanding up to 2200 PSI. This exploratory process is essential for understanding the wall’s capacity and planning the injection process accordingly.
Marking the Pressure
It is recommended to mark the pressure at which the wall cracks using a wax pencil on the pump. This marking serves as a reminder of the wall’s capacity. Remember, you get one free crack for exploratory purposes. Any cracks after that are on you.


