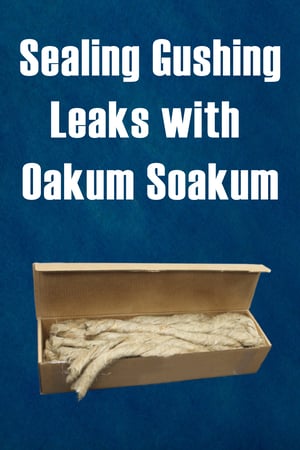

AP Oakum is an oil-free dry jute rope which can be used dry or soaked with Spetec PUR GT500, Spetec PUR F400 or any other Spetec water-reactive resin to seal leaks in concrete structures. The oakum rope works well dry to drive into cracks as a temporary seal to allow injected resin time to cure without washing out. Here’s an overview of the installation process:
Preliminary Analysis
Determine if the large crack or joint is structural or cosmetic. If deemed structural, consult an appropriate engineer. Oakum is typically utilized in conjunction with water-reactive chemical grouts in leak-sealing applications. Void filling of these spaces can also be achieved through similar application techniques and appropriate product selection.
Preparation of Substrate
Remove all existing sealant, debris, or contamination of any kind. In large openings, inspect for loose concrete or anything that would prevent insertion of oakum into the desired depth and location.
Preparation of Product
Firstly, cut oakum into desired lengths and segments. Pre-mix hydrophobic or hydrophilic chemical grouts per manufacturer recommendation in a separate container taking note of working times and reaction times. Once the material is mixed, quickly, and fully soak the Oakum in the mixed chemical grout. Place the saturated oakum to the desired location.
Preparation of Personal Protection Equipment
Oakum is typically manually installed. Be sure to wear full hands, arm, face, and eye covering at
all times. Chemical grout can drip/spill cover anything with which it comes in contact.
Application of Oakum
- Clean the surfaces to which the oakum will be applied. Wet the surfaces down if necessary, to react with the resin.
- If necessary, cut the oakum into appropriate lengths.
- Place oakum in a clean container (5 gallon/18.9 liter pail or plastic bag) and saturate with resin. Allow time for the resin to soak into the oakum.
- Using gloved hands, pull a section of oakum through a loose set to wring excess resin from the oakum.
- Optional Step: Dip the oakum into a pail of water to begin the reaction process. This will begin the reaction process of the resin. This step causes the resin to begin to expand.
- Pack oakum into the joint, crack, or other defect using a screwdriver, wooden dowel, or other mechanical device sized appropriately for the joint, crack or defect.
- After the resin has cured you may inject additional resin through a grout needle directly through the oakum or by drilling holes through the concrete behind the oakum.
- Allow the material to cure overnight before attempting to trim the excess foam.
Brief Video Clip
Here's a brief video, taken from my trusty Grout Geek Helmet Cam, of me packing oakum into a gushing leak.


