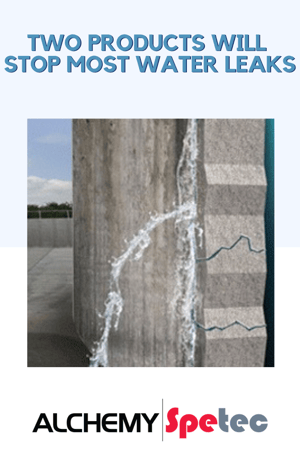
Concrete restoration and waterproofing contractors see so many different kinds of leaks out in the field that categorizing them into basic groups is not an easy task. However, that’s what we’re going to try and do. The reason for this is to demonstrate how just two products in your arsenal can accomplish 90% of leak sealing tasks.
Alchemy-Spetec manufactures a range of polyurethane resins for Sealing Leaks, Stabilizing Soil, and Lifting Slabs. Today we’ll focus on Spetec PUR GT500 and Spetec PUR H200 to demonstrate the versatility and scope of leak sealing that can be accomplished with these two products. To be clear, the leaks we are addressing today are leaks through concrete, below grade structures, and through the soil.
Leaks through concrete are generally going to be through cracks, joints, and honeycomb (areas in poured concrete of mainly course aggregate with voids in between). Depending on water volume and pressure, and the size of the joint or crack, you are going to encounter weeping leaks, steady leaks, and gushing leaks. And of course there are also the “sometimes it leaks” types of situations. All of these can be stopped permanently with Spetec PUR GT500, Spetec PUR H200, or a combination of both.
Spetec PUR GT500
This flexible hydrophilic injection resin is very low in viscosity and is excellent for injecting into hairline cracks and standard cracks and joints up to 3/8” wide. It bonds aggressively to concrete and handles any movement within the crack because of its flexibility. Spetec PUR GT500 is a single component resin designed to penetrate deep into the cracks, react with the water, and seal the leaks. Its reaction time is slowed down somewhat in order to allow it to migrate throughout the crack. On larger cracks which are actively leaking, a little oakum or backer rod can be wedged into the crack to prevent the resin from running out before it sets up.
Spetec PUR H200
Because the rapid expansive properties of this semi-rigid hydrophobic resin make it great for filling voids, it’s also excellent for shutting down strong and gushing leaks up to thousands of gallons per minute. The low viscosity of this product allows it to be injected into hairline and smaller cracks as well, but it is mainly used for stopping the big ones. Use Spetec PUR H200 with an accelerator to adjust the set time according the conditions of the leak.
Spetec PUR H200 is also an excellent product for the process known as “curtain grouting”. For instance, earthen dams and ponds often have water migrating through the soil creating voids, water loss, and potential failure. Grouting into the soil in a grid pattern can seal off this water migration. The resin expands into the ground and penetrates through the fines, and then bonds well with the surrounding earth.
Spetec PUR GT500 & Spetec PUR H200
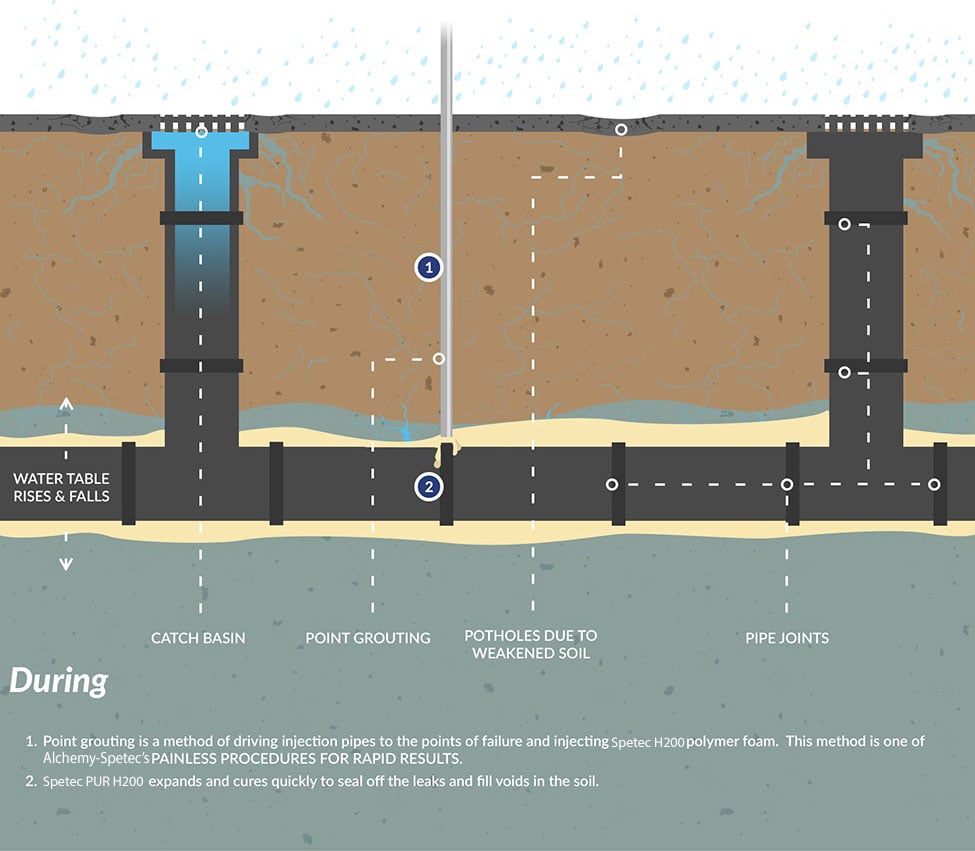
Sometimes a leak requires a combination of both products. Here is an example from an actual job:
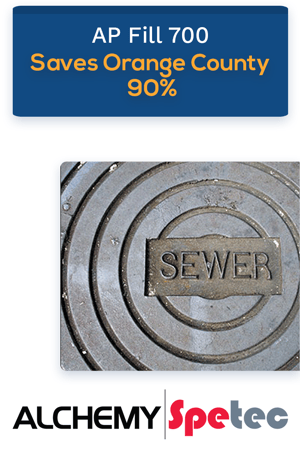
There was a below grade utility vault that housed valves for two sewer force mains. There were 24” and 18” ductile iron pipes penetrating the vault to connect to the valves. Around the pipe penetrations, a previous contractor had used clay and mortar to try and seal it, but the water table was about 10’ above the penetrations and it had blown out the seals. The entire vault (14’L x 12’W x 20’H) would fill up with water within a few hours.
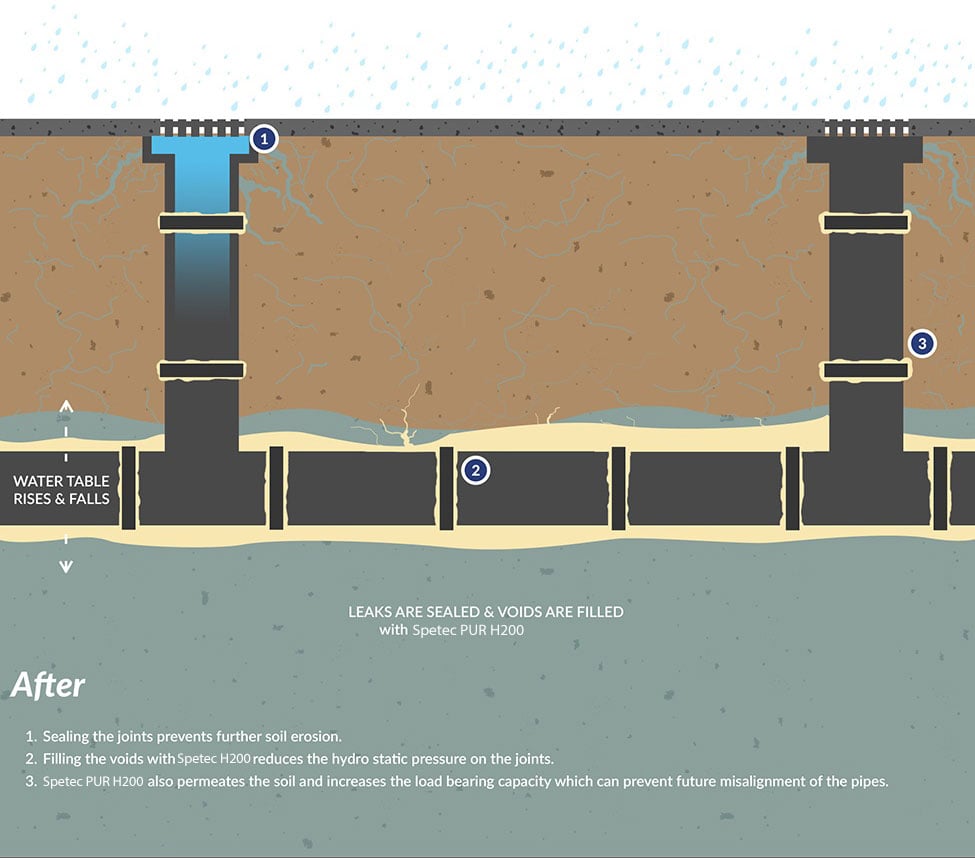
Once again, these basic products were all that was needed to stop the leak. The new contractor punched holes into the side of the vault near the pipe penetrations and installed injection ports. Spetec PUR H200 with the standard catalyst was pumped through the ports and the hydrostatic pressure of the water forced the reacting resin back through the pipe penetrations slowing the leak and then quickly sealing it off. Because there is some vibration in a pipe, Spetec PUR GT500 was then injected in a circle around the penetration creating a flexible seal and shutting down any trickles. In this case the water table was so high that as the polyurethane expanded and reacted with the water, it literally travelled up the exterior of the vault and came in through some unseen cracks and poorly sealed joints, sealing those issues off as well.
It's is easy to go into a product catalog and become overwhelmed by the array of choices. But don’t over think it! Two products, or a combination of both, may be all you need to get the job done.
Want in-depth info on leak seal procedures and products?


 See first-hand how chemical grouts react and set up when mixed at our Live Mixing Station at World of Concrete 2019!

 Leaking concrete structures can be permanently repaired with concrete crack injection by using a water activated flexible foam. Pressure injection of these liquid polyurethane resins forces the material into leaking cracks, joints, and other defects. After the polyurethane crack injection is complete, the polyurethane resin rapidly reacts with water to form a flexible, watertight seal.


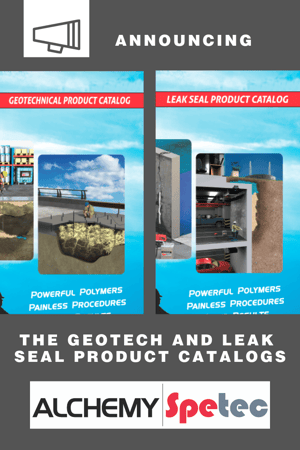 Alchemy-Spetec products will now officially be promoted under the Leak Seal and Geotech lines. As holds true with most mergers (Alchemy Polymers and Spetec formed Alchemy-Spetec in 2017), the integration of products and services can take time. This rebrand will be reflected in two separate product catalogs. One for Leak Seal products and one for Geotech products. We are confident that the two-catalog offering is the best solution for our partners and customers.
 As we move toward a more clear definition of the Spetec and AP product lines representing our Leak Seal and Geotech product lines respectively, we're making a couple of product branding adjustments effective this week