
 Grain silos serve as the backbone of agricultural storage and supply chains. They hold not just grain but also the trust of farmers, suppliers, and consumers. One of the most critical yet often overlooked aspects of maintaining a grain silo is the integrity of its elevator pits. Leaks in these pits can lead to a cascade of problems, from grain contamination to equipment malfunction. Understanding the importance of sealing leaks in elevator pits, the risks of water ingress, and the role of polyurethane provides actionable knowledge for effective grain silo management.
The Risks of Water Ingress
Grain Contamination
Water ingress in elevator pits poses a significant risk to the quality of stored grain. When water seeps into the silo, it creates a conducive environment for mold growth and bacterial contamination. These microorganisms can rapidly spoil large quantities of grain, leading to financial losses and potential reputational damage. Moreover, contaminated grain can pose health risks if it enters the food supply chain.
Fumigant Efficacy
Another less obvious but equally important concern is the impact of water ingress on fumigants used for pest control. A leaky elevator pit can dilute fumigants, reducing their concentration and effectiveness. This compromised state can lead to increased pest activity, further jeopardizing grain quality. Therefore, a well-sealed elevator pit is not just a structural requirement but also a critical factor in effective pest management.
Impact on Equipment and Operational Downtime
Equipment Malfunction
Water leaks don't just affect the grain; they also have a detrimental impact on the mechanical components housed in the elevator pits. These components, including conveyors and lifts, are essential for the efficient operation of the silo. Water can corrode metal parts, disrupt electrical systems, and cause premature wear and tear. The result is often equipment malfunction, which necessitates costly repairs or replacements.
Operational Downtime
The time required to address these malfunctions translates into operational downtime. For every hour the silo is non-operational, there's a cascading effect on the supply chain. During peak harvesting or shipping seasons, this downtime can be particularly costly. The financial implications extend beyond the immediate repair costs to include lost revenue and potential contract penalties.
Polyurethane as a Solution
Polyurethane Leak Seal Grout
Polyurethane stands as a highly effective material for sealing leaks in elevator pits. One of its primary advantages is its quick-setting nature. Unlike traditional materials like cement, polyurethane can set within minutes, drastically reducing the time required for repairs and, consequently, operational downtime.
Another advantage is its flexibility. Polyurethane can expand and contract with temperature fluctuations, maintaining a tight seal and offering long-lasting results. This characteristic makes it particularly useful in environments with extreme temperature variations.
Experienced Waterproofing Contractors
While polyurethane offers an effective sealing solution, proper application is critical to achieve optimal results. This is where the expertise of an experienced contractor comes into play. Look for a contractor who specializes in commercial waterproofing and has a proven track record with polyurethane grouts. They will have the right equipment, training, and techniques to thoroughly clean, prepare, and seal the problem areas. Rushing through the job or using improper methods can compromise the integrity of the seal.
A quality contractor will take the time to inspect, diagnose, and address the root causes of leaks before applying the sealant. They will also guarantee their work, which demonstrates confidence in their skills. While it may involve a slightly higher upfront cost, spending on an experienced contractor ultimately pays off through lasting results and minimized repeat repairs down the road. Their expertise in all aspects of the sealing process gives you the assurance of not just a quick patch-up solution but a robust, long-term fix to keep your elevator pits dry for years to come.
Proactive Maintenance is Key
Sealing leaks in elevator pits is not just a maintenance task; it's a critical operation that impacts grain quality, equipment functionality, and overall operational efficiency. Water ingress can lead to grain contamination, reduce the efficacy of fumigants, and cause equipment malfunction. These issues, in turn, contribute to operational downtime and financial losses.
Polyurethane offers a robust solution for sealing these leaks. Its quick-setting and flexible nature makes it an ideal choice for this application. The key takeaway is that proactive maintenance of elevator pits can prevent a multitude of problems. By understanding the risks and available solutions, silo owners and operators can make informed decisions that safeguard both their investment and the quality of the grain they store.
By addressing the issue of leaks in elevator pits, you're not just fixing a structural problem; you're enhancing the overall integrity and reliability of your grain silo. And in a business where margins can be thin, such proactive measures can make a significant difference to your bottom line.
For more information on sealing leaks with polyurethane grout...


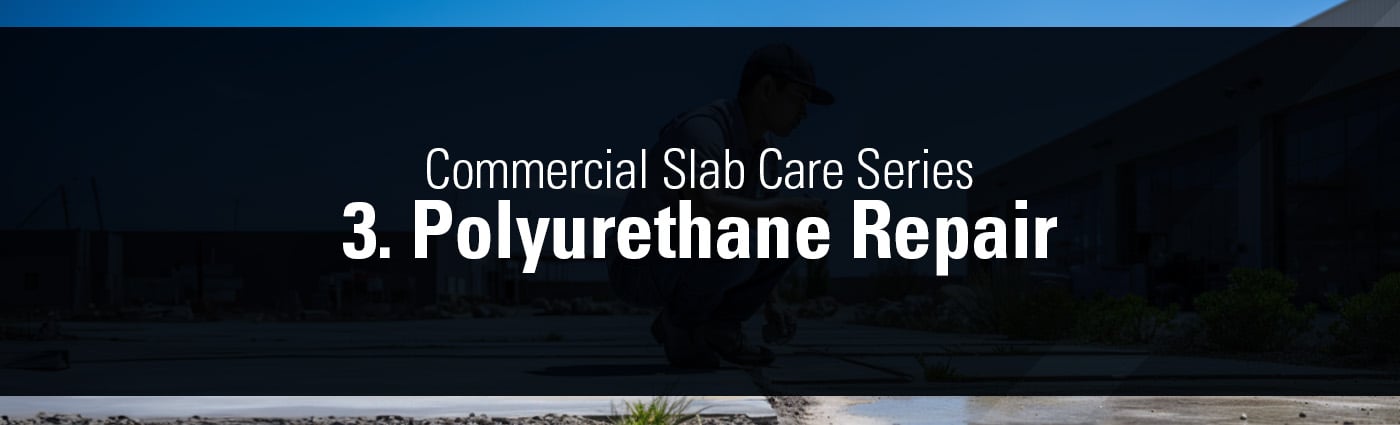
 In the earlier posts of this series, the importance of slab leveling, and soil stabilization has been emphasized, along with the specific risks faced by various industries and the notable advantages of using polyurethane, as supported by real-world case studies. The focus now shifts to providing commercial property owners and managers with actionable steps for effectively addressing these critical issues.

 In the field of commercial property management, maintaining the integrity of concrete slabs and soil stability is crucial. Although the general advantages of using polyurethane have been discussed, real-world case studies provide the most compelling evidence of its effectiveness. This post will explore two such case studies to demonstrate the efficacy of polyurethane in addressing complex slab and soil challenges.
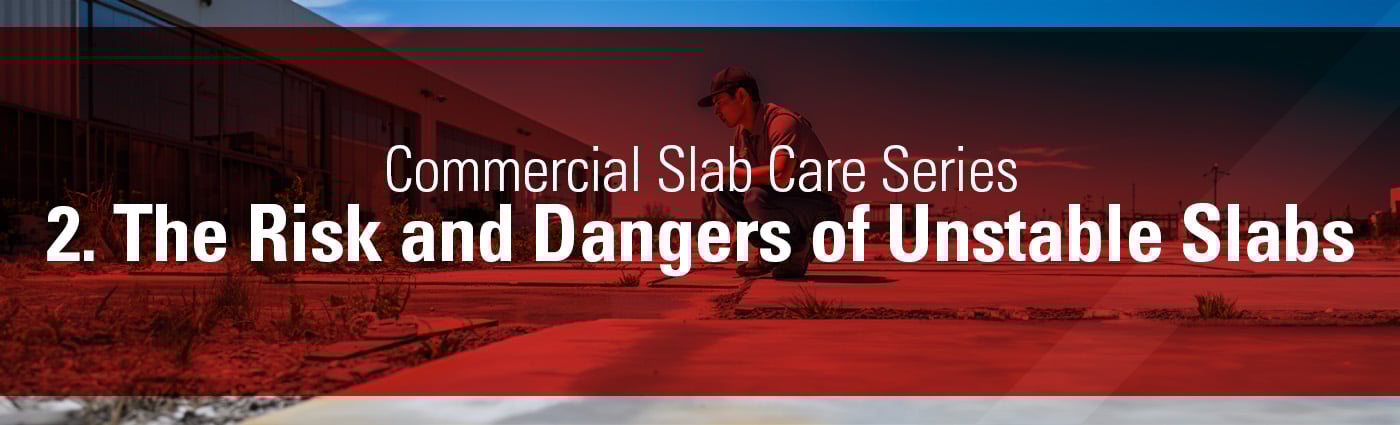
 In the previous post, the basics of slab leveling, and soil stabilization were introduced, along with a discussion on the types of commercial properties commonly affected by these issues. Today's focus will be on delving deeper into the specific risks and dangers that different industries face when it comes to sinking slabs and unstable soil.
 If you own or manage a commercial property, you've likely heard the terms "slab leveling" and "soil stabilization." But what do these terms mean, and why should you care? This blog post aims to demystify these critical processes and shed light on their importance for maintaining the structural integrity and safety of your property.
 The Maze of Repair-Related Regulations
 The High Stakes of Unpredictability
 The Environmental Stakes of Wastewater Management
 The Critical Role of Wastewater Management in Public Health
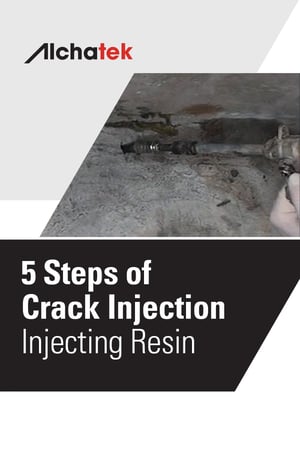 Finally! We are at the last basic step. Now for the fun part - injecting the polyurethane resin. If you only have one pump, be sure to flush the pump out completely with
