
 Frosted Flakes could be more relevant to your project management than you may think.
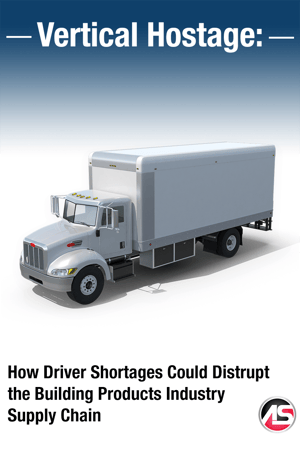
In the USA Today on April 26th, Paul Davidson writes, “If you see prices creeping higher for everything from cereal to socks in the next few months, you can probably blame this stark reality: There aren’t enough truck drivers delivering the goods to stores.”
The same article reports a driver shortage of almost 60,000 in 2018, with that number almost doubling by 2022. The causes of this phenomenon are attributed to several factors. Tighter regulation and electronic tracking of fleets regarding their road time and breaks, Baby Boomers comfortable with cross-country treks and weeks away from family retiring, and Millennials uninterested in this career path are some of the theories. In addition to this, many fleets are considering automated driver technologies that further decrease the demand and resulting training programs, budgets, and overall relevance.
Adding to the dilemma is that large mainstream retailers such as Amazon and Wal-Mart are able to absorb a portion of these costs for commoditized goods through economies of scale. What this means for other resellers is incremental increases in prices that could soon leave them uncompetitive at the register.
In the building products industry, these effects could be much more pronounced. Order and deliveries often involve specialty production and delivery considerations. We certainly don’t represent the Frosted Flakes of the world. In the world Alchemy-Spetec operates, we would be more analogous to an artisan baker producing specialty products to serve a specific need. Shipping and handling does play a role in this price point.
The importance of distribution could once again rise to the forefront in the coming years. While there is an industry trend to stock less, and drop-ship more, the shipping industry could play a much larger role in the building products vertical. So, next time you are walking through the isles at your local market, pay close attention to the price of those Oreos, and consider what that very trend could mean on your job site. Your children may have a very valid argument that it’s a good idea to stock up.
For information on Alchemy-Spetec’s Stocking Distributor program, please contact your Regional Manager available at the contact map linked here.
Want more information on Alchemy-Spetec products?



 If you sample

 Spetec PUR HighFoamer
 Spetec PUR HighFoamer
 If you’re in the chemical grouting industry, you have undoubtedly seen expanding polyurethane foams reacted in cups at tradeshows, trainings, and presentations. When these water-activated polyurethanes come in contact with moisture, a polymerization reaction is initiated, which caused a large expansion of the cured polyurethane. But not all foams are created equal.



 Support. I’ve been in the chemical grouting industry for 12 years now. I have been in countless engineer presentations, distributor sales meetings, and contractor training programs during which the concept of support is thrown around rather loosely.
 Perhaps the most profound question we can all answer is our "Why". We all get up in the morning, get ready for work, and go about our day. But why do we work where we work? And, more importantly, why should our customers spend their hard-earned dollars with us? As Simon Sinak so simply states, “people don’t buy what you do, they buy why you do it.”
 Translate