 In the previous post, An In-Depth Look at Polyurethane Seawall Repair – Part 1, we looked at causes of seawall deterioration, typical evidence of deterioration to look out for near seawalls, and the three most common seawall repair options: excavation, cement grout repair and polyurethane repair.
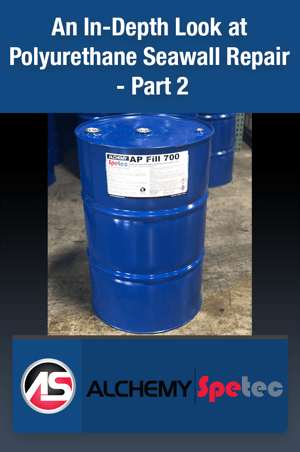
Now we’re going to take a deep dive into the qualities, applications and advantages AP Fill 700 – the Alchemy-Spetec product most typically used for seawall repair. We’ll also share a case study on a seawall crisis at an upscale marina that was resolved by contractors using AP Fill 700.
AP Fill 700 Advantages
AP Fill 700 is a single component, water activated, hydrophobic, low viscosity, closed cell polyurethane injection resin. In addition to seawalls, it’s a proven polyurethane concrete crack sealant for all types of structures. From our experience advising contractors, we’ve found it to be the most cost effective method for repairing seawalls.
Here are some of the advantages it has over other polyurethanes:
Lowest viscosity on market
AP Fill 700 has a viscosity of 110 to 130 cps. This allows for getting into thin cracks.
Closed cell, 0% permeability
The closed cell structure of this foam allows for ZERO percent permeability. No compromising of the repair material to worry about.
Adjustable set time
Adding various amounts of catalyst to adjust the set time allows for custom application of the material to address the specific nature of the seawall problem. A longer set time allows for the material to permeate and soak in around the structure before setting up. A shorter set time makes the material set up more immediately, which may be appropriate when there are large voids to fill or gushing leaks to stop.
Single component
This particular product does not require a “B” side to react with before setting up. This allows for simple, efficient installation.
Phthalate free
Some companies use phthalates in their polyurethanes. Because of their environmentally unfriendly nature, it’s not even legal to manufacture phthalates in the United States. Companies using them have to import them from overseas. Needless to say, AP Fill 700 does NOT contain phthalates – a known marine pollutant.
Approved for contact w/ drinking water
As mentioned in the previous post in this series, AP Fill 700 has been NSF certified for contact with drinking water. So, obviously installation in recreational or commercial bodies of water is no problem from an environmental perspective. Read more about NSF certification in the blog post Alchemy-Spetec's NSF Certification Spells Environmental Protection.
High bonding characteristics
Once AP 700 is installed, it’s NOT coming off. The adhesive qualities are unparalleled. This contributes to the vast advantage polyurethane has over cement grout when it comes to durability.
More about AP Fill 700
This material is designed to be efficiently delivered into all sized gaps and eroded depressions. It reacts with water or moisture in the soil and expands to fill the voids. It’s compatible with any seawall material: concrete, steel, vinyl, etc. And it permeates the most sandy of soils to form a solid, strong, watertight mass. It sets in less than 10 minutes. By being impermeable to water once in place, the likelihood of future erosion is vastly diminished.
AP Fill 700 Applications
In addition to seawall repair, there are many other general applications for AP Fill 700. Here a few to keep in mind…
- Cutting off low and high flow leaks
- Concrete void / crack filling for all structures
- Cutting off underground water flows
- Soil stabilization
- Filling voids under concrete slabs
- Encapsulating contaminated soils
Durability
Leading experts in the polyurethane industry predict that this material lasts for hundreds of years once installed. Polyurethane is made from similar materials as plastic. There’s a reason why people campaign against the dumping of plastic waste in the middle of the ocean: it will be there forever. The edge of the ocean, properly installed as part of a seawall repair, is a much better place for it. And, yes, it tends to last forever.
Powerful
If needed, AP Fill 700 can quickly shut down leaks of thousands of gallons per minute. Rapid expansion makes it great for filling voids, wide cracks, pipe joints, pipe penetrations. Originally developed over 30 years ago, and continuously improved since, this technology has one of the longest histories of success in the field among uses of polyurethane foams
Efficient Installation
Results are immediately clear due to the visible exiting of sea water when the foam is injected. The low viscosity allows it to be injected into hairline, expansion joints and smaller cracks as well. AP Fill 700 is field proven in “curtain grouting” (earthen dam seepage protection), and consolidating loose soils.
Case Study
Let’s close out this two part series with a look at polyurethane seawall repair in action…
Situation
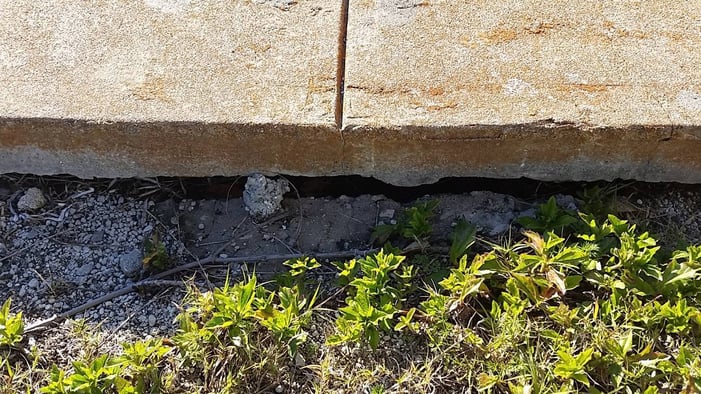
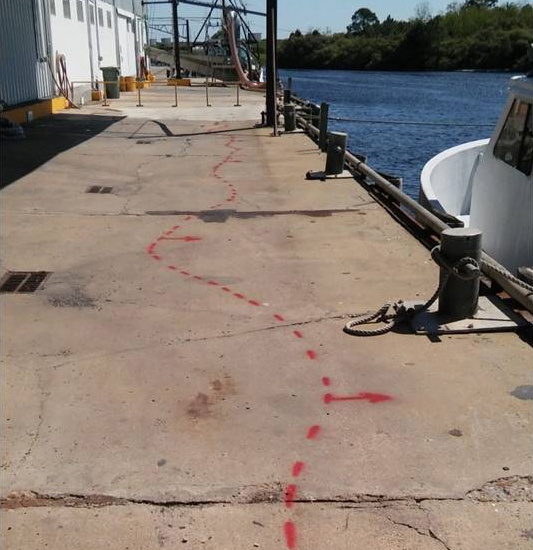
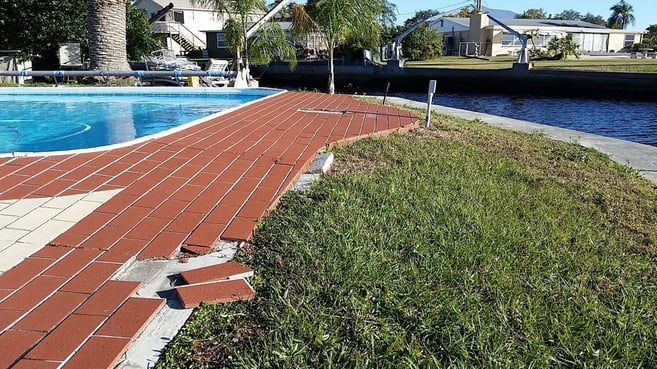
Owners of an upscale marina in Riviera Beach Florida noticed cracking in the slabs outside of their main boathouse. They also noticed that the slab had settled in several areas. The slabs in question were subject to heavy dynamic loads as a large forklift traversed the area, bringing 40' motor yachts in and out of the boathouse. Contractors came in and did a site evaluation, drilling holes to probe beneath the slab and also a sub surface investigation of the seawall to see if soils were being lost.
Solution
Most of the joints in the seawall were leaking sandy soil out - resulting in a void beneath the concrete slabs, which then cracked and settled. AP Fill 700 was specified to seal the concrete panel joints. It was injected behind the panels in the area of the joints, both vertically through the concrete, and horizontally from the water side of the panels. Proper venting was then installed to relieve hydrostatic pressure.
Results
The sandy soils have been stopped from escaping from behind the seawall. The concrete slabs were then lifted back into place with a combination of helical piles and AP Lift 475. There are no longer any voids beneath the slab so it is not flexing and cracking any longer. This marina was saved from a much larger, more catastrophic failure.
Want more info on polyurethane seawall repair?


 The
The 

 Chemical grouts are commonly injected into leaking cracks and joints to stop the flow of water, sealing off cracks and filling voids. This procedure can be performed in both wet and dry situations, in potable water or wastewater tanks, and in a variety of other structures where water is leaking.

 Once the material is selected, an appropriate piece of equipment must be selected for dispensing the material. For most polyurethane injection resins,
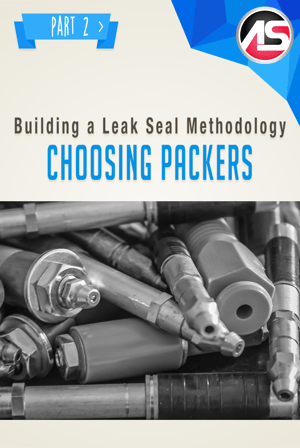 Mechanical packers and ports are used on almost every leak seal chemical injection project. If a contractor is using chemical grout, then there is a high chance that they are also using mechanical packers. Considering that leak seal injections are often performed in small cracks and joints, the mechanical packer portion of the project is often more significant than the chemical grout. Let’s begin with a brief overview of packer terminology as reference.