 In a recent media interview, I was quoted as follows: “Ultimately, the customer is the property owner, somebody who’s got a problem. Even though we’re selling to contractors, we kind of all have to be on the same page.” That view has motivated us to pay close attention to what contractors, engineers AND property owners are most concerned about regarding the use of polyurethane. Over the years, we’ve noticed three main questions that arise over and over again:
- Are the polymers strong enough?
- Are they easy to install?
- How quickly can the job be finished?
So we’re going to take a look at each of these three core issues in detail…
Powerful Polymers
Concrete Leveling Foams
In my blog post Slab Jacking With Polyurethane Foam – How Strong is Strong Enough?, I point out that the National Home Builders Association and the International Building Code list stiff clay as having a 4,000 lbs per square foot load bearing capacity and crystalline bedrock as having 12,000 lbs per square foot capacity. Our lifting foams have load bearing capacities of 7,200 to 14,000 lbs per square foot after curing in a free rise state.
When Alchemy-Spetec foams cure in a confined state underground, that bearing capacity has been known to be even stronger. Testing data in the lab shows that our lifting foams will increase in compressive strength: In a space confined 25% by volume there will be an increase of 31% in psi and in a space confined by 75% there will be a 79% increase in the psi.
The Alchemy-Spetec lifting foams are used to level airport slabs supporting jumbo jets, heavy equipment, building slabs supporting tremendous loads, and even railway slabs supporting the heaviest freight trains.
Leak Seal Resins
Alchemy-Spetec leak seal resins have been used in many applications, including shutting down a 2-million gallon per day leak at a water treatment plant. The leak was reduced from 1,700 gallons per minute to just 10 gallons per minute (attributed to the many vintage valves and fittings that are still present at the plant). They are also used in other applications such as curtain wall grouting.
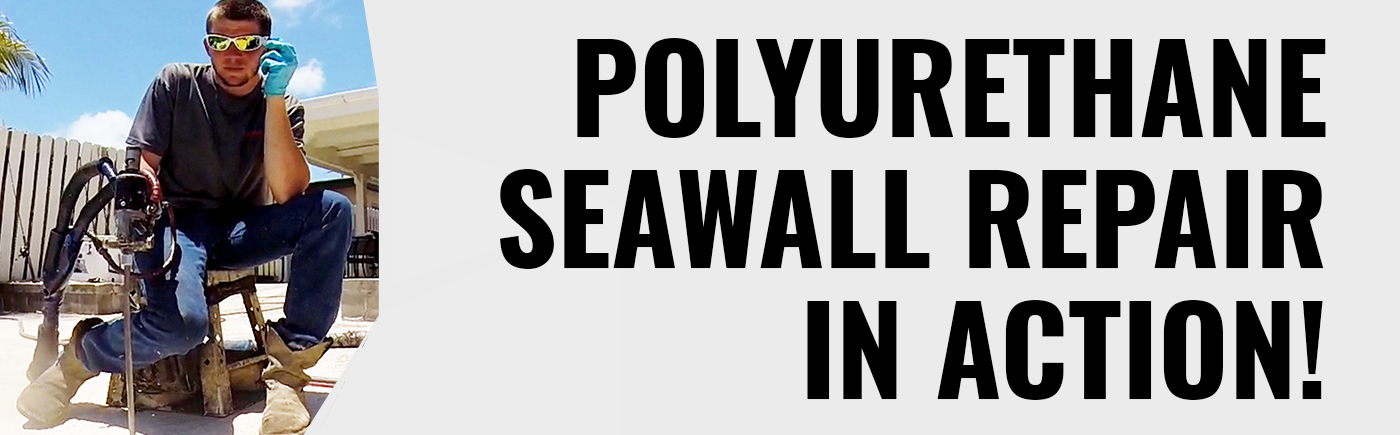
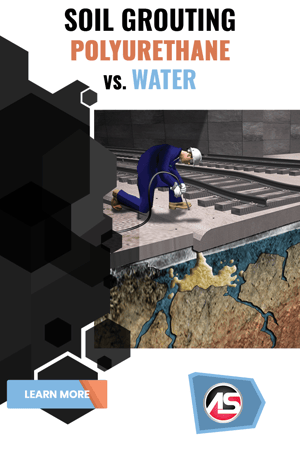
Soil Stabilization Resins
Unstable, eroded, or loose soil around infrastructure can result in settlement and damage to the structure. Voids can be filled, seawalls remediated, soil consolidated, and water migration halted by injecting the soil with Alchemy-Spetec soil stabilization resins. In my blog post Soil Stabilization Products Prevent Cave In Beneath Busy Intersection, I profiled a powerful example of AP Fill 700 in action. Inspectors in Orange County, Florida found a depression in the middle of a busy intersection that was due to an underground sewer line that wasn’t sealed. Water and eroding soil were infiltrating the sewer line causing the road to slowly settle. The resulting voids around the drainage structures had the potential to grow larger, eventually resulting in a complete cave-in of the roadway. A point repair was done from within the leaky pipe to stop the infiltration but they feared it was only a matter of time before the road gave way. We devised a solution for their crew to use the versatility of AP Fill 700 as both a permeation and void filling grout. To keep the lane closure down to a bare minimum of time, the project was successfully completed on two separate Saturdays. The voids were filled, the loose soil was solidified, and only minor asphalt patching was required to make that area smooth for traffic again.
Orange County Utilities Supervisor Paul Morrison has been enthusiastic about AP 700 since the first time he tried it out on a severe manhole leak, when he had this to say…
“Based on our extensive prior experience, we expected to use at least five to ten pails to stop this leak. With Alchemy-Spetec material we were able to do the job with 1/10th of that amount. Their product will save our crews a lot of time and labor, and save the taxpayers of Orange County a lot of money.”
AP Soil 600 is one of the most versatile permeation grouting products on the market. It can be characterized by its single component, moisture activated, hydrophobic, and low viscosity qualities. It can fortify sandy soil to strengths approaching 2,000 psi.
Painless Procedures
As I never fail to point out, application procedures for Alchemy-Spetec products are relatively painless. The installation process is very clean compared to replacing the structure or repairing with cement grout. Polyurethane is lighter than cement, so it doesn’t sink. Alchemy-Spetec products do not shrink after installation. The closed cell structure makes these resins impermeable.
Rapid Results
Application of polyurethane is usually less expensive than replacement. Polyurethane concrete repair is also less time consuming. Any structure repaired with Alchemy-Spetec products is usually ready for use 45 minutes after application.
There you have it – the three most critical issues for contractors, engineers and property owners regarding polyurethane concrete repair. By staying focused on these concerns we constantly remind ourselves WHY we do what we do. We do it for YOU.
Want in-depth info on polyurethane infrastructure repair resins?


 What is erosion?


 After three decades in this industry, I still find myself in awe of what polyurethane foam can do. From sealing massive dam leaks to stabilizing airport runway slabs to lifting entire buildings – the feats contractors achieve with this stuff is astonishing. Yet some people who are new to this technology have a hard time understanding how a mere “foam” can be ideal for these most demanding of applications. Or maybe they wonder how safe it is.