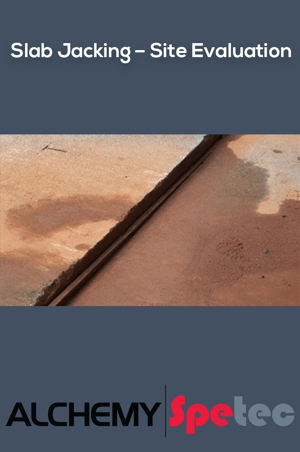
Any successful slab lifting job begins with a thorough site evaluation. Some new jobs are like previous jobs, some are a little bit similar, and many are a completely new experience altogether. A site evaluation is not limited to, but should include Identifying the Cause of Slab Settlement, Gathering Information, Identifying Potential Hazards, and Visualizing the Mobilization.
Cause of Slab Settlement
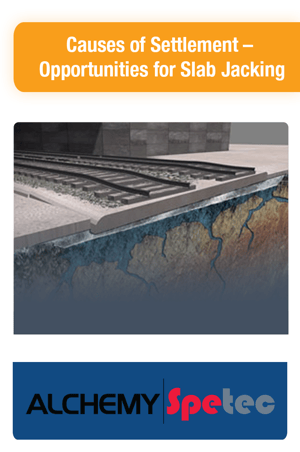
Determining the cause of settlement is usually the first step in beginning your evaluation. The cause can be any number of things such as erosion, ground water, sink holes, poor compaction, and buried debris that breaks down over time. Correctly identifying the cause will help you determine if slab jacking alone will solve the problem or whether a combination of lifting, stabilizing, and / or void filling will provide the permanent solution.
Gathering Information
The next phase should include gathering information from multiple sources. This includes dimensional information such as length and width of the slab; but also, the amount it has dropped, to help determine the volume of structural foam needed to lift the slab back into place. Make sure to bring your camera, notepad, and tape measure. Gather information from the property owner; find out about any known irrigation, electrical, water, or drain lines. Specifically, find out from the owner about any areas or features that need protecting around the injection site, the location of your rig, and all points in between where your crew may be working.
Identifying Potential Hazards
If the job is outside of a building, find out where the utilities are and have them professionally located. It's a lot harder to get paid when you have just drilled through the owner's power line or filled his landscape drains and fountains with foam. Additional information that may be available could include a soil engineering report, a structural engineering report, and reports from the builder of the structure. Don't forget a hammer drill, bits, and a penetrometer to determine soil compaction. Think about other issues that might create problems like slabs binding (concrete saw?), bent rebar from a settled slab, etc. Make sure you have considered all the tools you are going to need for the job and the cleanup.
Visualizing the Mobilization
After the data gathering is complete, it's time to visualize the job site as a whole and consider any challenges to mobilizing and physically reaching the areas that need lifting. Think about potential issues: How big is your rig? Is a trailer rig or a box truck rig going to face challenges getting into and out of the area? And once your rig is in place, do you have enough heated hose and pump power to get the required volume of material where it needs to go to do the lift?
Some of the above seem obvious but it's often the obvious things that get overlooked. Mistakes can drastically cut into your profitability and reputation. There's a reason pilots go through the same checklist prior to every flight. Sometimes you only get one chance to do the job.
Want in-depth info on slab lifting procedures and products?

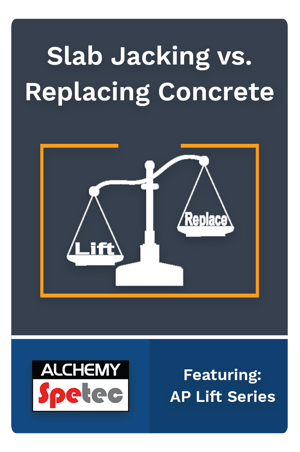 Slab Jacking vs. Replacing Concrete