

 Using social media to market yourself and your contracting firm is essential as the world becomes more connected. Consider a LinkedIn profile to be your very own personal branding page. LinkedIn can play a significant role in your strategy for locating new clients and contacts in your field. Your name, photo, and headline are frequently the first things visitors see before even clicking on your profile. A professional headshot photo is essential for your profile page.
Headline
One of the most crucial elements of your profile on LinkedIn is your headline, the section found under your name. It spans the top of your page and can be seen everywhere, including in "People You May Know" sections, job applications, postings, messages, recommendations, and even connection requests on LinkedIn.
The LinkedIn character limit for headlines is 220 for desktop and 240 for mobile. Although there are two options, be sure to optimize for 220 characters or less. Don't simply list your title; but include what you can offer, such as "President at ACME Foundations: Concrete Leveling and Soil Stabilization."
Summary
The text box that reads "Summary" at the top of your LinkedIn profile is also known as the "About" section. It's directly below your picture. You can briefly describe your career history in this extra space which has a character limit of 2,000. This is a crucial area in which LinkedIn scans the keywords to decide whether or not to include your profile in search results. Use keywords and information that potential customers might be searching for. In the end, your LinkedIn summary should act as a spotlight, framing your individual story and assisting readers in learning more about you, your motivations, the types of work that excite you, and (if applicable) your accomplishments.
Experience
You have the choice to import your resume here, but there's more to do than just that. Take advantage of including one or more media items. Customers might spend more time browsing your profile if it includes interesting media. This could result in more business opportunities.
Recommendations
Get at least two recommendations from people who have hired you for jobs or who are influential in your industry, if at all possible. Make sure to provide talking points that highlight your character and strengths.
Endorsements
Endorsements are essentially testimonials from individuals who confirm the skills you listed on your profile. List these skills from most applicable to least relevant, starting at the top. You could recommend others and hope they will recommend you in return to increase those endorsements (or email associates to specifically endorse you for a certain skill).
Connections
Create as many connections on LinkedIn as you can. This increases the visibility of your profile. Connect with everyone you know, including your friends, family, alumni, coworkers, clients, and industry leaders.
Contact Information
A straightforward email would be sufficient for this section. You will always be accessible in this manner, ensuring that you never miss a crucial business opportunity.
LinkedIn Account Address (URL)
Your first and last names can be added to the LinkedIn account address. If your name is already taken, you can change it by adding a middle initial, a number, etc.
Updates
Updates are essentially what you share with your connections, similar to a Facebook "post" or a "tweet" on Twitter. It is the ideal way to interact with your contacts on a regular basis and maintain visibility. It allows you to update your status with recent achievements and business-related news.
Conclusion
With the help of this guide, you should be able to use LinkedIn effectively and draw in the audience you desire. Don't forget to follow the Alchemy-Spetec LinkedIn company page as well!
Want more information on Alchemy-Spetec products?


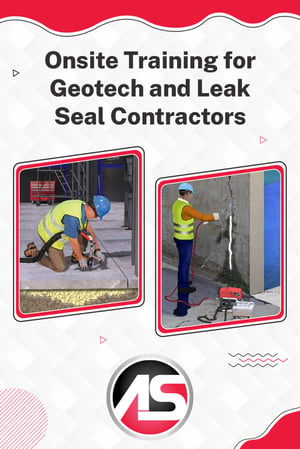 Premier On-The-Job Technical Support
 Commercial/Industrial Slab Issues

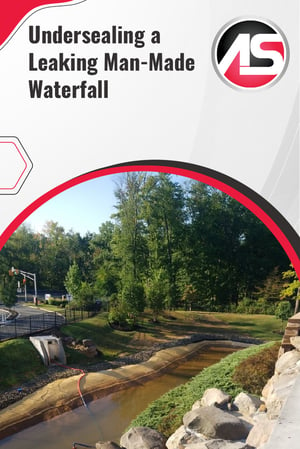 A geotech contactor was called to Livingston, NJ to evaluate a settling man-made waterfall. The waterfall was
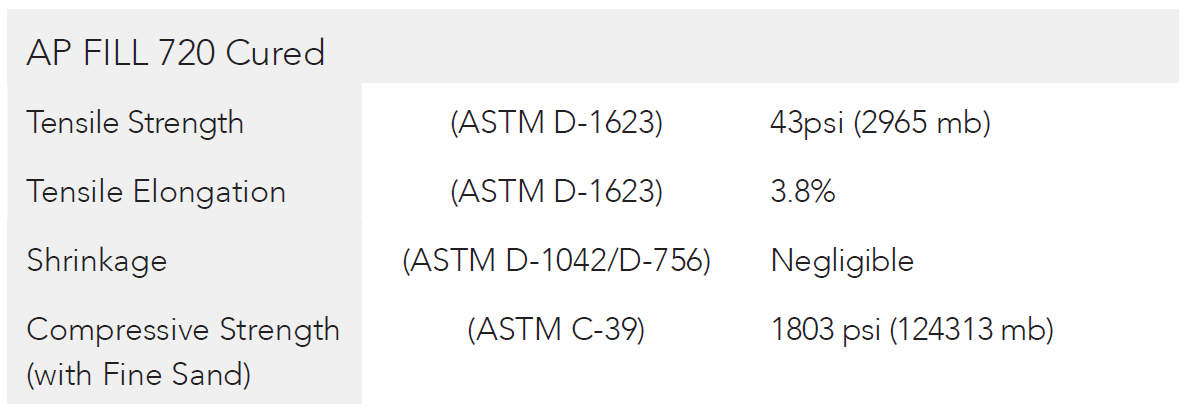


 A general contractor on a new commercial construction job reached out to Atlanta-based geotech contractor

 The Problem


 Single component, water-activated, hydrophobic, low viscosity, closed-cell polyurethane injection resin for stabilizing soil. Also good for filling voids and cutting off high-flow underground leaks,
 Geotech specialists from

 Whether your focus is on soil stabilization, leak seal, or slab lifting, it’s a known fact that growing your contracting business is hard work. As an experienced consultant and advisor, I am aware that many contractors focus so much time on generating new leads that they may overlook another great source of new revenue: re-engaging past customers.
