


Topics: All Posts

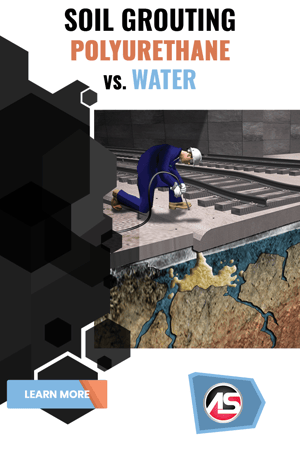
Not all two-component polyurethane lifting and stabilizing foams are specifically designed for wet environments. In most situations when you are injecting polyurethane foam into the ground, there is a high probability that the environment is going to be wet. You need to be confident that the foam will react and retain the desired properties in these wet environments. If the foam you are using is not specifically designed for wet environments, then you may be cheating yourself and your customer out of the best possible results.
All polyurethane foams are going to undergo a density change when introduced to water. This is precisely because the isocyanate (A component) in polyurethane reacts faster with water than it reacts with the polyol (B component). Some will undergo drastic changes and some minor changes. It is important to feel confident that the foam you are using will only undergo minor changes. The density of the foam is very important because density correlates to foam strength, and you are relying on that strength to support the structure you are lifting or the soil you are stabilizing.
All Alchemy-Spetec products are formulated to achieve minimum density changes when introduced to wet soil.
Topics: All Posts, Lift Slabs, Stabilize Soil

 Over my many years of consulting with customers on jobs, I have pumped, shot, spilled, splashed, sprayed, poured and injected polyurethane foam into every imaginable type of concrete structure known to man. Most of it has ended up where it was supposed to go. But some of it did not.
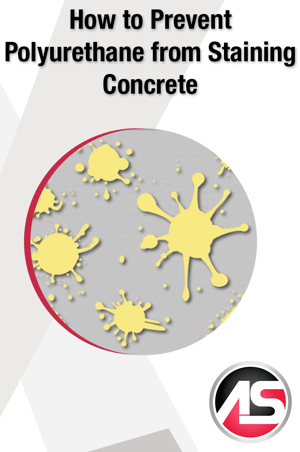
Some of it ended up on my clothes, my skin, and my hair. That never bothered me (well, maybe the resin on that brand new button down shirt bothered me a little). What is really frustrating is when it stains the concrete you are trying to fix. Your job is to repair something for your customer, and if you are not careful, you can make it look worse than before.
A few years ago I asked our chemist to develop a water based solvent for cleaning out two component impingement style injection guns (such as our MixMaster Pro gun). I wanted the product to be water based so that it could be dispensed directly into the environment with no negative effects. I also needed it to be thick enough to push reacting foam out of the gun.
After I saw what he came up with, I realized it could probably be used as a barrier to prevent polyurethane from staining concrete. After a little testing and tweaking, I realized it would work.
AP Flush 125 is a concentrated product that you can mix with 3-5 parts water. It can be sprayed onto concrete, wood, metal, or plastic and creates a barrier layer that prevents polyurethane foam from sticking to and staining the surface. You can brush it on or spray it on with a pump up garden sprayer.
Our AP Lift customers spray it right out of the MixMaster Pro gun onto concrete surfaces as they are moving from injection point to injection point. They also saturate cracks and joints that foam may come out of. This has the dual protection of keeping stains off the concrete and helps reduce binding of the concrete that can impede the lifting process.
On hot, sunny days you may have to apply it again if the water evaporates out of the system, but overall it really works wonders. We have used it on lifting jobs, soil stabilization jobs, and leak seal jobs. Now the spray foam insulation contractors are starting to use it to protect surfaces adjacent to their work areas.
Next time you are using polyurethane foam on or near a surface you don’t want your foam to stick to or stain, try a pail of AP Flush 125. One pail of concentrate can give you up to 25 gallons of protection.
Topics: All Posts, Lift Slabs, Seal Leaks, Stabilize Soil

 After three decades in this industry, I still find myself in awe of what polyurethane foam can do. From sealing massive dam leaks to stabilizing airport runway slabs to lifting entire buildings – the feats contractors achieve with this stuff is astonishing. Yet some people who are new to this technology have a hard time understanding how a mere “foam” can be ideal for these most demanding of applications. Or maybe they wonder how safe it is.
The irony is, whether you think you are “new” to this technology or not – you’ve been surrounded by polyurethane all your life. Sometimes an understanding of the past can provide more confidence for moving forward into the future. So if you can’t quite grasp how “foam” has been developed to the point that it can lift a building – or you wonder how safe it is – pay close attention to this story.
Dr. Otto Bayer first made polyurethane foam in Leverkusen, Germany in 1937. Polyurethane was initially used as a cheap replacement for rubber. Widespread use began in World War II, when many other materials became scarce. Polyurethane use quickly spread as a key component in many products, from specialized paper to protective military garments to gloss finishes and protective coatings.
In the 1950s, many companies such as DuPont, BASF, Dow, and Union Carbide started producing polyurethane for an even wider variety of applications including adhesives, insulation and foam upholstery cushions. In the 1960s the Bayer company (no relation to Dr. Otto Bayer) exhibited an all-plastic car, parts of which were made with polyurethane.
In the early 1970s, the introduction of polyurethane skateboard wheels as a replacement for the old metal ones completely revolutionized the sport, as the new wheels allowed for high impact activities such as jumping off of ramps. In the 1980s, the first mass produced plastic-body automobile – the Pontiac Fiero – was made with the use of polyurethane technology.
Today polyurethanes can be found in an infinite amount of products including furniture, clothing, shoes, beds, moldings, etc.
In the 1960s, 3M Company in the U.S. and Takanaka in Japan both introduced polyurethane grouts. 3M’s product was called Elastromeric Sewer Grouting Compound. As the name indicates, it was intended for use in underground utilities. Takanaka’s product was called Takanaka Aqua-Reactive Chemical Soil Stabilizer (TACSS). As the name indicates, it was intended for use in soil stabilization projects. In the early 1980s, DeNeef obtained the rights to TACSS and began distributing polyurethane grout worldwide. By the mid 1980s, there were almost a dozen manufacturers of polyurethane grouts. I got my start pumping 3M 5600 to seal cracks in the Atlanta subway system back in 1985. I was amazed at what it could do back then, and I am still amazed at what our products do today. 3M exited the business many years ago.
In the last few decades, polyurethane grouting has become a widely accepted method for sealing leaks, stabilizing soil and lifting slabs. Many innovations have been made, including closed cell hydrophobic polyurethanes and the use of two-component foams in geotechnical engineering. Polyurethane’s advantages over the old school approach of cement grout repair is covered thoroughly in our blog post Polyurethane vs. Cement for Slab Jacking.
Topics: Repair Seawalls, All Posts, Lift Slabs, Seal Leaks, Stabilize Soil

Poor compaction, water erosion, broken pipes, and organic material in the soil can all lead to settling of a foundation or a roadway. Traditional slab lifting can bring concrete and structures back into place but it doesn’t necessarily address the underlying issue or guarantee a long term fix. Other methods of addressing deep soil issues require heavy equipment, extended down time, and collateral property damage. These situations create problems for property owners as well as opportunities for the elite contractors that know how to fix them.
Alchemy-Spetec offers a unique combination of high quality structural lifting foams along with the equipment and training needed to address deep soil issues. Now you can achieve soil densification and lifting on large projects with the smallest footprint and least amount of heavy equipment required.
The Deep Lift™ process is powerful, painless, and rapid. Deep Lift™ gets to the root of the problems in the soil, it brings the structure back to level, and accomplishes this with minimal imposition or downtime to the property owner.
For a detailed explanation of the process, watch the animated video below...
Want more information on the Deep Lift process?
Topics: All Posts, Lift Slabs, Deep Lift
AP Lift foams have an inverse relationship between expansion and strength. The more they expand, the less compressive strength they have. The less they expand, the more compressive strength they have.
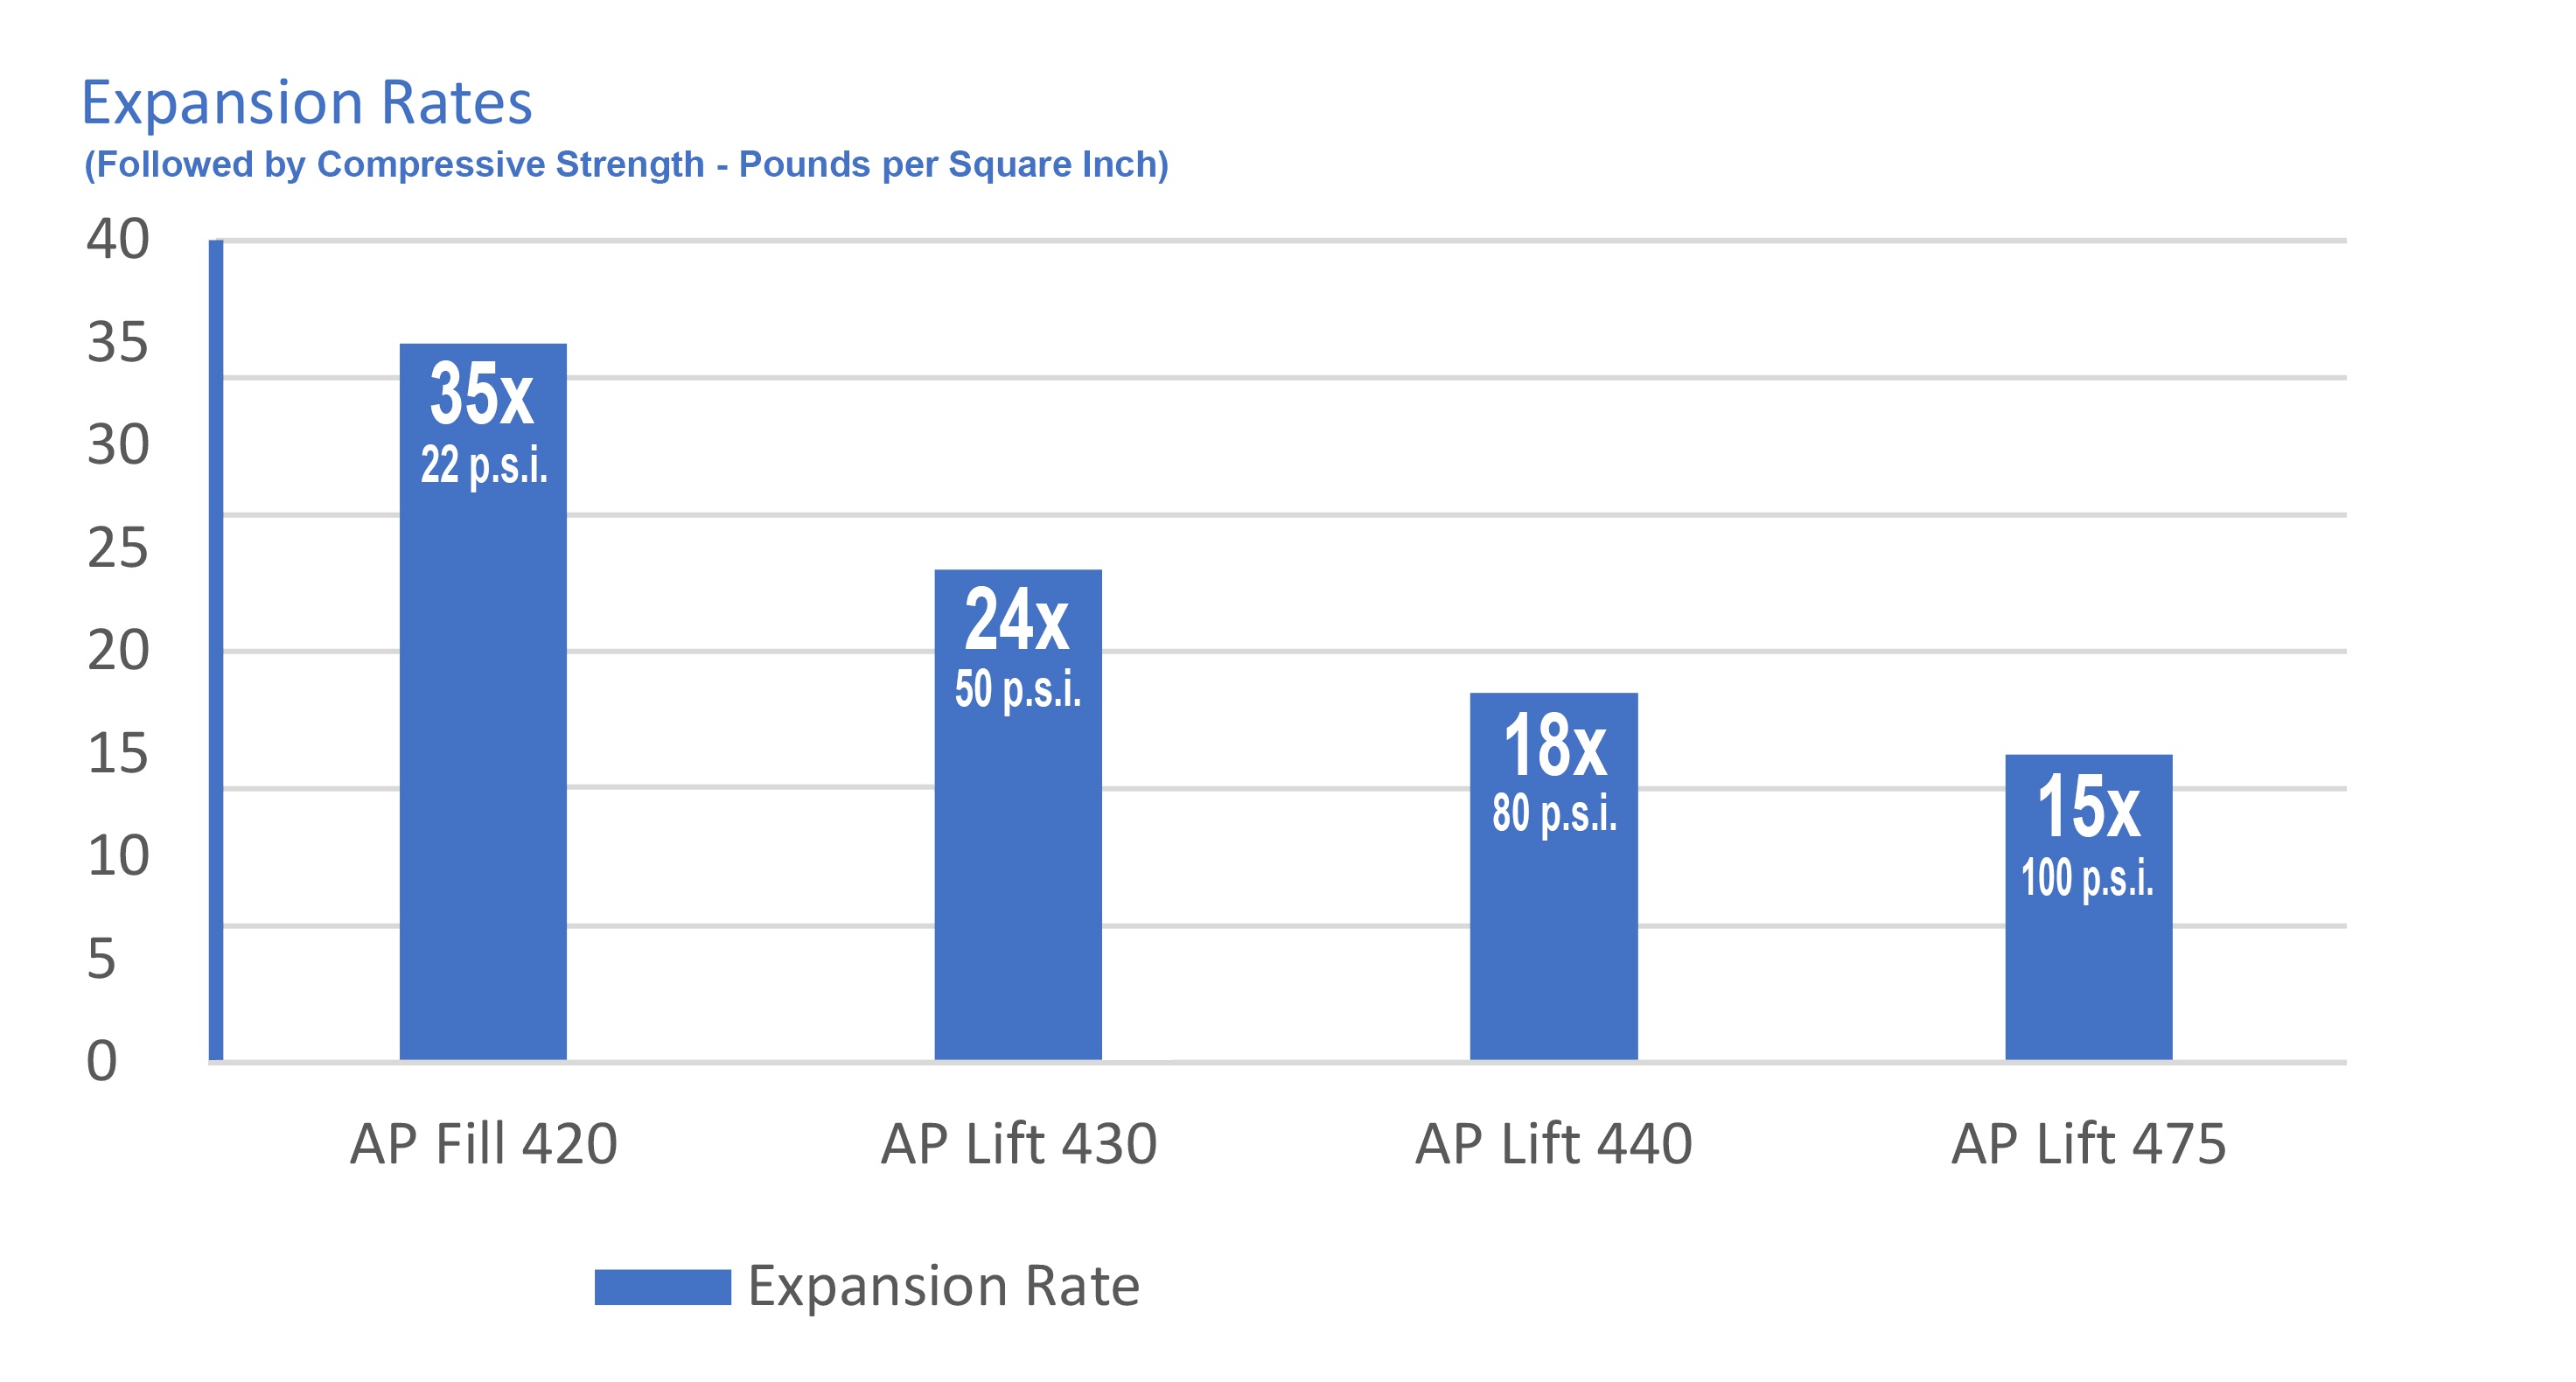
AP Lift 420 has the highest expansion which means it is the most economical product in terms of filling a void. It also has the lowest compressive strength.
AP Lift 475 expands less than half the amount of AP Lift 420, but the compressive strength is 370% stronger.
Understand that these expansion rates and compressive strengths are based on free rise foam. Free rise means that the material is allowed to expand with no resistance (example: foam that was mixed and expanded in an open cup). In most cases you are injecting these products into soil or into a void that is closed off on most sides. The foam meets resistance as it expands. The resistance reduces the amount of expansion and therefore increases the compressive strength. How much expansion is reduced varies from job to job and is influenced by soil conditions, void size and shape, quantity of material injected, etc.
Although each product can be used in multiple applications, here is a quick guide to product selection:
AP Fill 420 – Filling large voids, Deep Lift process
AP Lift 430 – Residential slab lift applications
AP Lift 440 – Highway concrete slab lift applications
AP Lift 475 – Heavy duty slab lift applications
Note: All of these products are designed to work in wet environments.
Topics: All Posts, Lift Slabs

 The Problem
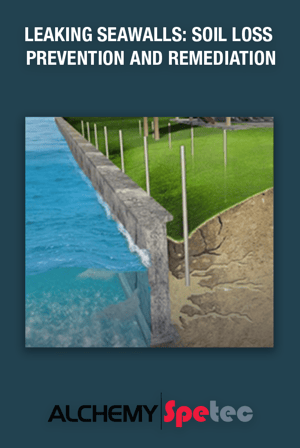
As tidal flows rise and fall, water pushes its way in through cracks, joints, and defects in seawalls. The water pushes in on incoming tides and flows out on outgoing tides. As the water flows out, it carries sand and soil with it which causes undermining of the structure, voids to form, and deteriorates the structural integrity of the seawall. This cycle is exacerbated during periods of heavy rain which continue the outflow of soil.
AP Fill 700 is a semi-rigid hydrophobic polyurethane foam that reacts with water or moisture in the soil and expands to fill voids while it permeates sandy soil to form a solid, strong, watertight mass. It has been used extensively in seawall applications to seal cracks, voids and defects as well as for filling voids and stabilizing the soil.
AP Fill 700 can be injected through pipes directly into voids and loose sandy soil using a single component pump (airless sprayer or double diaphragm pump).
Step 1: Insert pipes down to the lowest level to be injected. This can be done through driving the pipes mechanically, water jetting, or air jetting them down.
Step 2: Ensure the soil has enough moisture content to cause a reaction of the AP Fill 700 (slightly damp to saturated).
Step 3: Blend catalyst with AP Fill 700 to desired level. Typically, between 2% and 5% AP 106 Catalyst will be sufficient.
Step 4: Connect the hose from the pump to the injection pipe. The hose should have a ball valve to control the flow of the material.
Step 5: Inject AP Fill 700 either at a pre-determined rate (rule of thumb is 1 gallon per vertical foot) or until sufficient back pressure is established.
Step 6: After each “point” is injected, raise the pipe 12” and repeat the process. Once the pipe is within 24” of the surface you will probably get material flowing back to the surface (known as “refusal”). Stop at this point and move to the next pipe.
Step 7: Repeat this process until the entire area has been injected.
Note: A containment barrier should be used on the water side of the seawall to capture any foam that leaks out of the seawall during the process.
Note: Check valve type drains may need to be installed in the seawall after injection to allow water from heavy rains to vent out and reduce pressure on the seawall. These drains will allow water to flow out, but not soil.
Topics: Repair Seawalls, All Posts

 Due to a driver shortage in the shipping industry, non-guaranteed
shipments are being pushed to the back of the line, re-routed, or
even placed on rail.
When you choose guaranteed service, we have much more leverage
in the event delays do occur.
We now recommend choosing guaranteed service if your order is
time sensitive and ordering at least a week in advance when possible.
Click here to view a USA Today article on the current driver shortage
in the shipping industry.
Topics: All Posts

 On May 31st, Paul ‘Captain Grout’ Layman officially announced his retirement from the chemical grouting industry. As those in this industry well-know, there are few people with as much technical and field experience as Captain Grout, and even fewer with personalities as large.
Paul put himself through college as a concrete finisher and graduated from Andrews University in 1970. He then taught Physical Education and Math at the High School level, as well as being a Jr. High School Principal throughout the 70’s.
Paul began working in Construction sales in the late 70’s with L&M Construction Chemicals, and then joined Dayton Superior, becoming their floor and grout specialist, which led to him being known as “Captain Grout”. In 2005 he joined DeNeef as their Western Regional Manager, covering the western United States and Canada. After DeNeef was purchased by W.R.Grace Paul left DeNeef to join Resiplast U.S., which later merged with Alchemy Polymers to form Alchemy-Spetec. For the last couple of years, Paul has been a member of the Alchemy-Spetec team as the Pacific Northwest Manufacturer Representative.
Throughout the years Paul was privileged to work with many of the most competent professionals in tunneling, mining, and dam repair. He travelled extensively and got to indulge his love of flying his own airplanes for several years during the week and sailing most weekends. Now, at age 71, he says it is time to go home to Maine and spend much needed time with his two grandsons, be able to travel with his wife, and to just enjoy his family and his friends. He also plans on lending a helping hand to his old alma mater, Pine Tree Academy in Maine, teaching some of the skills he has learned along the way to the next generation of concrete finishers and chemical grouters, maybe even sales people. As Paul says, it is time to give back.
In honor and appreciation of Paul’s 40 years in the concrete repair ad chemical grouting industry, Alchemy-Spetec is proud to announce Paul ‘Captain Grout’ Layman as the first recipient of their Lifetime Achievement Award honoring individuals who have exhibited exemplary dedication to, and advancement of, the chemical grouting industry. These award winners will also be recognized as lifetime technical advisers to the Alchemy-Spetec product line.
Those who know Captain Grout well, recognize his signature cap and love for airplanes and boats. The entire Alchemy-Spetec Team, as well as the chemical grouting industry tip our caps to you, Captain Grout, as you sail off into the sunset of retirement.
Topics: All Posts

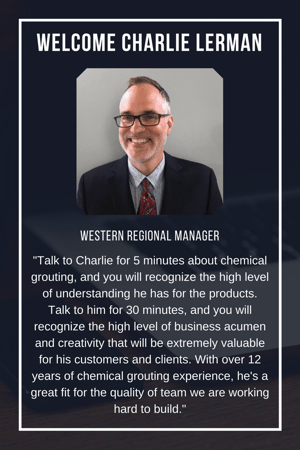 Alchemy-Spetec is pleased to announce the addition of Charlie Lerman to our team! Charlie will join us as the Western Regional Sales Manager, covering all states that are color-coded yellow on this distributor territory map. He will support Alchemy-Spetec customers on a wide variety of grouting jobs from dams to tunneling, municipal to sewer system work, residential, commercial, and industrial.
At the beginning of his career, Charlie served nine years in the U.S. Navy (six as a mechanic on a nuclear submarine and three as a recruiter). Mr. Lerman brings 18 years of construction experience to the team. He was with a restoration contractor for six of those years and earned his bachelor's degree in Business Management during that time. Charlie has been providing technical support and training to polyurethane grout applicators for over twelve years and has been involved with the International Concrete Repair Institute (ICRI) and National Association of Sewer Service Companies (NASSCO).
Alchemy-Spetec V.P. of Sales & Business Development Jim Spiegel is excited about bringing on another skilled expert to assist customers: "Talk to Charlie for 5 minutes about chemical grouting, and you will recognize the high level of understanding he has for the products. Talk to him for 30 minutes, and you will recognize the high level of business acumen and creativity that will be extremely valuable for his clients. With over 12 years of chemical grouting experience, he's a great fit for the quality of team we are working hard to build."
Topics: All Posts
Alchatek
Tel. (404) 618-0438
Copyright 2025 © Alchatek