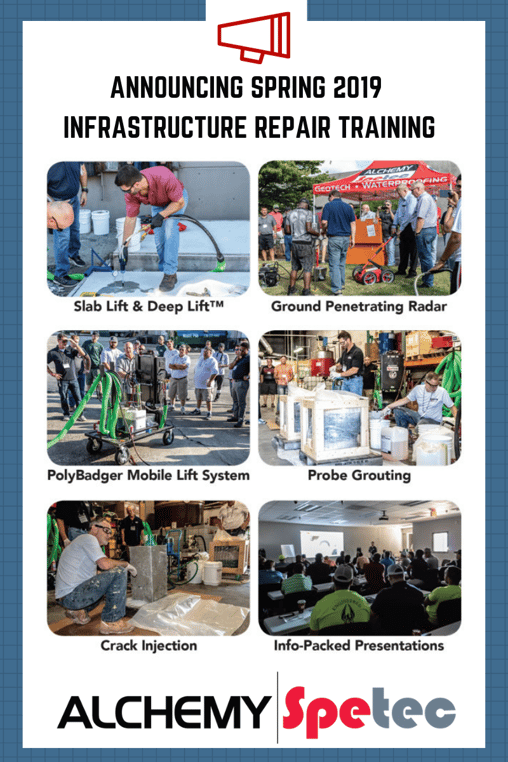
Leak Seal & Geotech Products & Procedures
March 14 & 15, 2019 at Alchemy-Spetec HQ in Tucker, GA
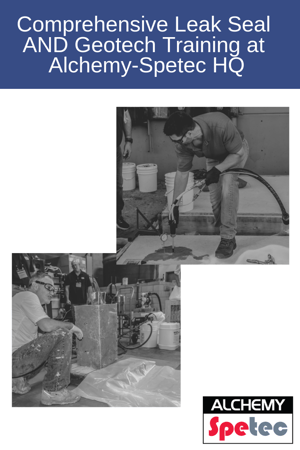
Balance your skill set with Leak Seal AND Geotech training!
Get ready for a thorough education in Leak Seal, Slab Lifting, Soil Stabilization and the Alchemy-Spetec Deep Lift™ process. You’ll get hands-on training from a technical staff with decades of on-the-job experience.
Thursday - Leak Seal
- Leak Seal Product Line Overview
- Curtain Grouting
- Permeation Grouting
- Leak-Seal Product Mixing
- Pump & Packer Overviews
- Leak-Seal Accessories
- Municipal Applications
- Live Injection Demos
- Open Discussions
Friday - Geotech
- Geotech Product Line Overview
- Soil Stabilization
- Geotech Product Mixing
- Rig & Mobile System Overviews
- Geotechnical Accessories
- Slab Lifting Live Demo
- Deep Lift™ Overview
- Soil Testing with the
- GPR & Penetrometer
- Maintenance Discussions
- Pricing / Estimating / Cost Savings
- Open Discussions

Participants receive a Samsung tablet loaded with training material.
Your Instructors:
Stephen C. Barton (President/CEO), Jim Spiegel (VP Sales & Business Development), Andy Powell (Southeastern Regional Manager), Anthony Sandone (Eastern Regional Manager), and Charlie Lerman (Western Regional Manager). Each instructor is a seasoned professional with at least a decade of experience in the industry.
Topics:
Repair Seawalls,
Equipment & Accessories,
All Posts,
Lift Slabs,
NSF Certification,
Seal Leaks,
Stabilize Soil,
Business Tips,
Repair Cracks,
Waterstop,
Deep Lift,
Floor Repair
Leak Seal & Geotech Products & Procedures
March 14 & 15, 2019 at Alchemy-Spetec HQ in Tucker, GA
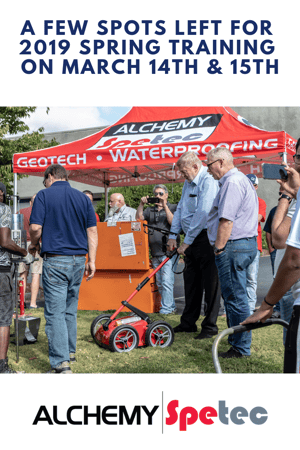
Only a few spots left!
Get ready for a thorough education in Leak Seal, Slab Lifting, Soil Stabilization and the Alchemy-Spetec Deep Lift™ process. You’ll get hands-on training from a technical staff with decades of on-the-job experience.
Thursday - Leak Seal
- Leak Seal Product Line Overview
- Curtain Grouting
- Permeation Grouting
- Leak-Seal Product Mixing
- Pump & Packer Overviews
- Leak-Seal Accessories
- Municipal Applications
- Live Injection Demos
- Open Discussions
Friday - Geotech
- Geotech Product Line Overview
- Soil Stabilization
- Geotech Product Mixing
- Rig & Mobile System Overviews
- Geotechnical Accessories
- Slab Lifting Live Demo
- Deep Lift™ Overview
- Soil Testing with the
- GPR & Penetrometer
- Maintenance Discussions
- Pricing / Estimating / Cost Savings
- Open Discussions
Participants receive a Samsung tablet loaded with training material.
Your Instructors:
Stephen C. Barton (President/CEO), Jim Spiegel (VP Sales & Business Development), Andy Powell (Southeastern Regional Manager), Anthony Sandone (Eastern Regional Manager), and Charlie Lerman (Western Regional Manager). Each instructor is a seasoned professional with at least a decade of experience in the industry.
Topics:
Repair Seawalls,
Equipment & Accessories,
All Posts,
Lift Slabs,
NSF Certification,
Seal Leaks,
Stabilize Soil,
Business Tips,
Repair Cracks,
Waterstop,
Deep Lift,
Floor Repair


Leak Seal & Geotech Products & Procedures
March 14 & 15, 2019 at Alchemy-Spetec HQ in Tucker, GA
The best classroom learning in the business!
Informative presentations and group discussions packed with practical application instructions, business tips and more.
Get a thorough education in Leak Seal, Slab Lifting, Soil Stabilization and the Alchemy-Spetec Deep Lift™ process. You’ll also get hands-on training from a technical staff with decades of on-the-job experience.
Thursday - Leak Seal
- Leak Seal Product Line Overview
- Curtain Grouting
- Permeation Grouting
- Leak-Seal Product Mixing
- Pump & Packer Overviews
- Leak-Seal Accessories
- Municipal Applications
- Live Injection Demos
- Open Discussions
Friday - Geotech
- Geotech Product Line Overview
- Soil Stabilization
- Geotech Product Mixing
- Rig & Mobile System Overviews
- Geotechnical Accessories
- Slab Lifting Live Demo
- Deep Lift™ Overview
- Soil Testing with the
- GPR & Penetrometer
- Maintenance Discussions
- Pricing / Estimating / Cost Savings
- Open Discussions
Participants receive a Samsung tablet loaded with training material.
Your Instructors:
Stephen C. Barton (President/CEO), Jim Spiegel (VP Sales & Business Development), Andy Powell (Southeastern Regional Manager), Anthony Sandone (Eastern Regional Manager), and Charlie Lerman (Western Regional Manager). Each instructor is a seasoned professional with at least a decade of experience in the industry.
Topics:
Repair Seawalls,
Equipment & Accessories,
All Posts,
Lift Slabs,
NSF Certification,
Seal Leaks,
Stabilize Soil,
Business Tips,
Repair Cracks,
Waterstop,
Deep Lift,
Floor Repair
Get ready for a thorough education in polyurethane slab lift/soil stabilization geotech products and applications on Friday, March 15th (March 14th is leak seal day), 2019 at Alchemy-Spetec HQ in Tucker, GA. You’ll get hands-on training from a technical staff with decades of on-the-job experience. Registration includes both days, but we’ll take a close look at the geotech curriculum in today’s blog post…
The schedule on Friday, March 15th includes education on the Alchemy-Spetec geotech product line, soil stabilization, slab lifting, the Deep Lift™ process, rig & mobile lifting systems, geotech accessories, soil testing (ground penetrating radar, penetrometer), pricing and estimating. There will also be live geotech demos, product mixing demos, and open discussions for sharing job related tips and solutions from the field.
Your instructors have years of experience providing technical support for contractors across the country. You can look forward to presentations, demos and/or discussions lead by Stephen C. Barton (President/CEO), Jim Spiegel (VP Sales & Business Development), Andy Powell (Southeastern Regional Manager), Anthony Sandone (Eastern Regional Manager), and Charlie Lerman (Western Regional Manager).
Participants will receive a Samsung tablet loaded with leak seal training material.
The registration deadline is February 28th.
Sign up while there's still space available...
Topics:
Equipment & Accessories,
All Posts,
Lift Slabs,
Stabilize Soil,
Business Tips,
Deep Lift
Leak Seal & Geotech Products & Procedures
March 14 & 15, 2019 at Alchemy-Spetec HQ in Tucker, GA
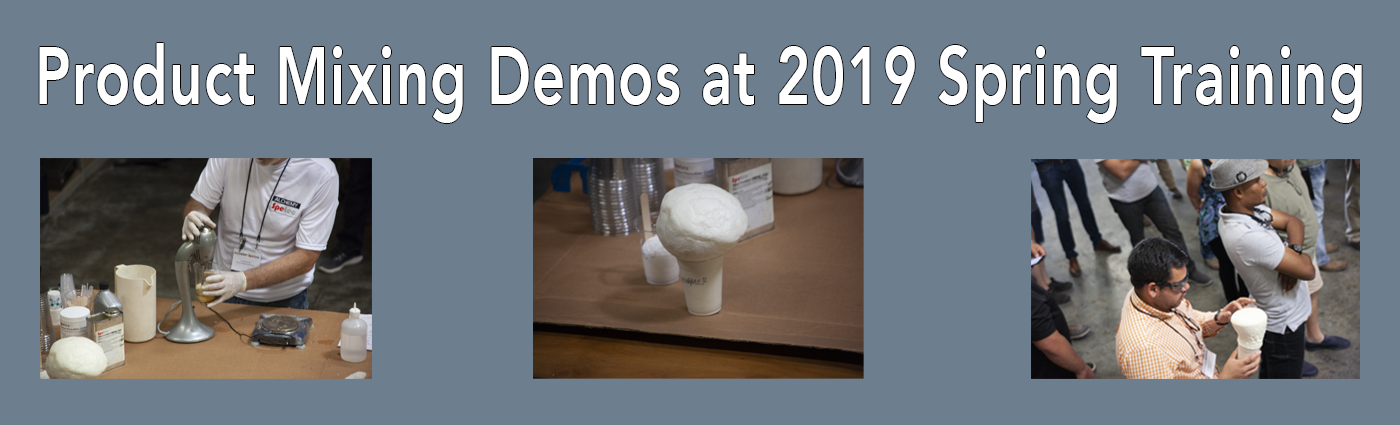
 See live product mixing demos!
Get a thorough education in Leak Seal, Slab Lifting, Soil Stabilization and the Alchemy-Spetec Deep Lift™ process. You’ll also get hands-on training from a technical staff with decades of on-the-job experience.
Thursday - Leak Seal
- Leak Seal Product Line Overview
- Curtain Grouting
- Permeation Grouting
- Leak-Seal Product Mixing
- Pump & Packer Overviews
- Leak-Seal Accessories
- Municipal Applications
- Live Injection Demos
- Open Discussions
Friday - Geotech
- Geotech Product Line Overview
- Soil Stabilization
- Geotech Product Mixing
- Rig & Mobile System Overviews
- Geotechnical Accessories
- Slab Lifting Live Demo
- Deep Lift™ Overview
- Soil Testing with the
- GPR & Penetrometer
- Maintenance Discussions
- Pricing / Estimating / Cost Savings
- Open Discussions
Participants receive a Samsung tablet loaded with training material.
Your Instructors:
Stephen C. Barton (President/CEO), Jim Spiegel (VP Sales & Business Development), Andy Powell (Southeastern Regional Manager), Anthony Sandone (Eastern Regional Manager), and Charlie Lerman (Western Regional Manager). Each instructor is a seasoned professional with at least a decade of experience in the industry.
Topics:
Repair Seawalls,
Equipment & Accessories,
All Posts,
Lift Slabs,
NSF Certification,
Seal Leaks,
Stabilize Soil,
Business Tips,
Repair Cracks,
Waterstop,
Deep Lift,
Floor Repair
Leak Seal & Geotech Products & Procedures
March 14 & 15, 2019 at Alchemy-Spetec HQ in Tucker, GA
Get ready for a thorough education in Leak Seal, Slab Lifting, Soil Stabilization and the Alchemy-Spetec Deep Lift™ process. You’ll get hands-on training from a technical staff with decades of on-the-job experience.
 Thursday - Leak Seal
- Leak Seal Product Line Overview
- Curtain Grouting
- Permeation Grouting
- Leak-Seal Product Mixing
- Pump & Packer Overviews
- Leak-Seal Accessories
- Municipal Applications
- Live Injection Demos
- Open Discussions
Friday - Geotech
- Geotech Product Line Overview
- Soil Stabilization
- Geotech Product Mixing
- Rig & Mobile System Overviews
- Geotechnical Accessories
- Slab Lifting Live Demo
- Deep Lift™ Overview
- Soil Testing with the
- GPR & Penetrometer
- Maintenance Discussions
- Pricing / Estimating / Cost Savings
- Open Discussions
Participants receive a Samsung tablet loaded with training material.
Your Instructors:
Stephen C. Barton (President/CEO), Jim Spiegel (VP Sales & Business Development), Andy Powell (Southeastern Regional Manager), Anthony Sandone (Eastern Regional Manager), and Charlie Lerman (Western Regional Manager). Each instructor is a seasoned professional with at least a decade of experience in the industry.
Topics:
Repair Seawalls,
Equipment & Accessories,
All Posts,
Lift Slabs,
Seal Leaks,
Stabilize Soil,
Business Tips,
Repair Cracks,
Waterstop,
Deep Lift,
Floor Repair
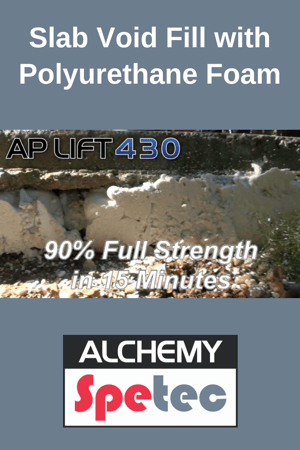 Voids beneath concrete slabs can be filled with two component polymer foam designed to work in wet or dry conditions. AP Lift 430 foam can support up to 7,200 lbs per square foot and will cure to 90% full strength in 15 minutes. (Of the most resilient concrete slab jacking foams, AP Lift 430 is proven to lift concrete slabs under harsh conditions. This two-component, high-strength, high-density, hydro-insensitive structural polyurethane foam is the top slab jacking solution for concrete slab foundation repair, soil stabilization, and compaction grouting. AP Lift 430 weighs 2.75 – 3.25 pounds per cubic foot.)
Polyurethane foam under concrete conforms to void shape more accurately than cement grout, and - unlike cement - it doesn't shrink or sink over time.
The video below depicts a real time example of void fill and slab stabilization. A residential driveway is undermined by a large void. Because an entire bank of soil washed away on one side of the slab, we get an unusually clear view of polyurethane void fill in action.
Observe the process closely and let us know if you have any follow up questions. We have the most knowledgeable and helpful customer support in the industry, so don't hesitate to call us at 404-618-0438 after you've watched this video!
Want in-depth info on slab lifting and slab void fill with polyurethane foam?

Topics:
All Posts,
Lift Slabs,
Stabilize Soil
 One of the hidden dangers a warehouse or industrial property owner and their employees can face is an unstable or sunken slab with a large void underneath. The last thing anyone wants is injury and/or a lawsuit resulting from an un-repaired trip hazard or worse - a complete slab collapse. Take a good long look at the photo in today's blog graphic. This occurred when a forklift carrying a heavy piece of equipment crossed a slab with an un-detected void underneath. Luckily, no one was injured.
This video below depicts (via an inexpensive borescope lowered through a drill hole) a real time example of a warehouse slab with cavernous voids below and heavy equipment resting on top. Next, you'll see the slab repair process in action as the voids are filled and the slabs are restored to a safe, stable state with AP Lift foams that support between 7,200 - 14,000 pounds per square foot (depending on the product selected).
Watch the process closely and contact us if you have any questions!
Want in-depth info on warehouse & industrial slab repair with polyurethane?

Topics:
All Posts,
Lift Slabs,
Stabilize Soil
Just outside Saskatoon, Saskatchewan is a 12,000 square foot cement manufacturing plant that was being re-purposed for use as an agricultural seed sorting facility. Built in the 1960s, the plant’s 10” thick, double rebar, 8000 psi concrete floors had settled. An undetected broken water main on an adjoining property had been pumping thousands of gallons into the soil for years causing the floors to become independent of the footings which had sunk as much as 7 inches. The new owner’s plan to demo the slabs – including some as large as 52 feet by 25 feet – and replace them came to a screeching halt when they proved to be too tough for even a track hoe mounted jackhammer. All of the high tech seed sorting equipment was still sitting on pallets and couldn’t be installed until the floor problem was resolved. With harvest season fast approaching, a mudjacker was hired to lift the slabs with cement grout. This effort proved unsuccessful in that the final levels were not accurate enough, leaving the property owner in dire circumstances.
 Powerful Polymer
Among the most dependable products for leveling concrete slabs, AP Lift 440, provides an exceptional DOT grade solution for these types of situations. This 4 lb. density, high-strength, hydro-insensitive structural polyurethane foam is perfect for lifting and supporting heavy concrete floors that have settled due to water infiltration.
Painless Procedure
An Alchemy-Spetec certified contractor lifted 5 slabs and fine-tuned 3 others that the mudjackers had unsuccessfully attempted with cement grout. Overall, nearly 900,000 pounds of sunken slab were lifted with only twelve 100 gallon sets of 440; all in less than a week.
Rapid Result
The level of precision achieved with polymer foam was not only far greater than anything the mudjackers were able to deliver, but the rapid results allowed for the heavy seed sorting equipment to be installed on stable floors just in time for the fall harvest. The floors are still perfectly level to this day.
Want more in-depth info on polyurethane concrete leveling?
Topics:
All Posts,
Lift Slabs
Nowhere on earth are they building more railroad lines than in the People’s Republic of China. The most populous nation in the world is developing rapidly and with it comes a need for more and more freight and passenger rail - and the demand for higher and higher speeds. Unfortunately, these high speeds cannot be achieved on rail that is sinking and settling in various places, especially in tunnels. This slows down people and commerce and is also a concern for safety. The culprit is groundwater, soil consolidation, and in some cases poor compaction. This is the type of environment where AP Lift 475 has done some of its best work.
 Powerful Polymer
AP Lift 475 is a two component, hydrophobic, structural lifting polymer designed for airport, highway, and railroad applications. It can be used to stabilize structures, fill voids, and lift slabs supporting tremendous loads. The real beauty of it is the ability to be traffic ready for a train or a jumbo jet in less than one hour. A few years ago, it was put to the test in tunnels in the mountains of China.
Painless Procedure
With rails sitting on double concrete slabs (the top slab was 1 meter thick, the bottom 30 cm) a plan was developed to bring the low spots back into tolerance by injecting AP Lift 475 underneath both slabs through extra-long injection packers.
Monitoring with laser levels, the low spots in the rail were lifted back to the original grade. AP Lift 475 performed as advertised. The railroad track was raised and supported, while at the same time the ground water was displaced, literally jetting out of relief holes as it sought a place to escape.
Rapid Result
Working in 4 hour windows where the rail traffic is shut down at night, crews lifted low spots in these tunnels quickly and efficiently. At 5 AM equipment and personnel had to be clear of the tracks and 15 minutes later the trains would rumble through. Vibration monitoring by railway engineers showed a smoother ride and the people and commerce of China were allowed to move once again at a frenetic pace.
Want More In-Depth Info on Concrete Leveling Polyjacking Products?
Topics:
All Posts,
Lift Slabs,
Stabilize Soil

