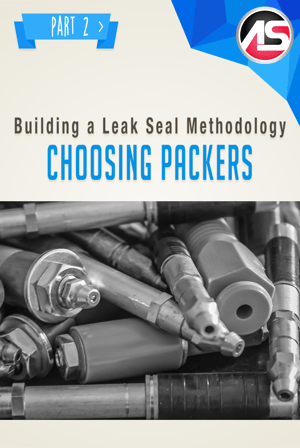
 Mechanical packers and ports are used on almost every leak seal chemical injection project. If a contractor is using chemical grout, then there is a high chance that they are also using mechanical packers. Considering that leak seal injections are often performed in small cracks and joints, the mechanical packer portion of the project is often more significant than the chemical grout. Let’s begin with a brief overview of packer terminology as reference.
Several suppliers offer 2-3 standard mechanical packers and ports assuming that these are generic in design and commoditized. This assumption is incorrect. Not all mechanical ports are created equal, and we aim to define these functional differences in this brochure. Mechanical packers are most commonly defined by four key aspects; and these are Diameter, Length, Type, and Ball-Valve Location.
Let's examine the functional differences of these key aspects.
Diameter: Mechanical packer diameter is relevant for two reasons, 1) this dictates the size of the drill hole required, and 2) the overall surface area of the rubber in the drill hole is a key contributor to the pressure tolerance of a mechanical packer.
- Size of drill hole considerations: Industry standards require 45-degree drilling to insert mechanical packers to a crack depth that is ½ the thickness of substrate.For thin substrates, for example 6” thick slabs, drilling at a 45-degree angle with a 5/8” drill bit may cause spalling and damage to the surface above the drilled angle as the outward heave force from the passage of the drill is greater than the strength of the concrete at that location, resulting in concrete spall and cracking damage at that location. For these applications, Alchemy-Spetec offers 5/16” (8mm) and 3/8” (10mm) diameter packers. The smaller cross section of drilling produces much less heave force against the face of the concrete and offers much better results when drilling into a thin concrete substrate. Post-tension structures and/or structures with a significant amount of rebar also present an obstacle when drilling. By reducing the size of the drill bit by 40-50%, the contractor also decreases the probability of drilling into rebar or post-tensioning accordingly.
- The tradeoff for smaller diameter is a decrease in pressure tolerances. Common ½” (13mm) or 5/8” (16mm) mechanical packers tolerate spikes in pressure greater than 4,000psi. At 4,000psi, packers and ports can present a significant job-site hazard as they can exit the drill hole at dangerous velocities. While injecting at these pressures are never recommended, a ½” (13mm) or 5/8” (16mm) rubber base on the mechanical packer will prevent blow-out significantly better than the 5/16” (8mm) or 3/8” (10mm) counterpart.
Length: Mechanical packers are most commonly used in poured concrete substrates. In adequately consolidated poured concrete structures, the drill hole itself acts as a channel through which the chemical grout will travel as it reaches the cross-section of the crack or joint. In these conditions, only the entire rubber shaft of the mechanical must be recessed into the drill hole to create an adequate compression seal. In the example of a 3” long packer, this would leave approximately 1.5” of metal shaft for connection access from the coupler that connects the hose line to the mechanical packer. However, it is common to experience micro-spalling at the point of drilling as the drill catches the 45-degree drill line. In these cases, the packer must be set even further into the concrete to ensure the rubber is fully recessed into the drill hole. This condition decreases the length of shaft accessible at the face of the substrate for connection to the coupler and can present challenges for the applicator. For this reason, it is advised to utilize 4” or 6” long packers in deteriorated or defective concrete substrates.
Length can also be advantageous when the contractor is attempting to inject the material to a specific point within the substrate. For example, it may be desirable to deliver chemical grout to the backside of a 4” substrate, or to a certain depth for a pipe penetration, or to account or unknown consolidation of the concrete within the drill hole channel that could lead to lateral travel of chemical grout to undesired locations within the substrate. Each job-site and substrate condition is different, and length of mechanical packer can provide the contractor with more options and ultimately a more effective delivery of chemical grout.
Type: Mechanical packers come in many types. In the concrete repair industry, contractors will find plastic, steel, brass, aluminum, zinc, and other metal alloys. The most commonly used type is steel. Steel offers the benefits of strength and resistance to oxidation through chemical grout oxidizing components found in grouts such as acrylics. Brass and aluminum packers are weaker and allow for the shaft to be broken off by hammer for more timely patching efforts following injection. However, most Quality Control Managers and clients will require the removal of all metal from the substrate prior to patching. The chosen method of removal is the choice of the client and/or design professionals.
There are two types of plastic packers used. The 5/8” (16mm) button top packer is used for high volume applications and for applications in which a button-top coupler is preferred to minimize leakage. The free-floating ball in the middle of the packer acts as an anti-return valve. A 5/8” (16mm) plastic sleeve is inserted first, with the threaded plastic base then screwed into compression via the hex head top. Another common port used is the 3/8” (10mm) plastic bang-in, or hammer-in port. These ports are simply inserted into a 3/8” (10mm) drill hole aided by the force of a hammer. The soft nature of the plastic allows the concrete to bite into the sides of the packer creating a compression seal. Because plastic packer compression is achieved though plastic to concrete friction, the overall pressure tolerances are typically lower than that of the mechanical packer counterpart.
Aluminum packers have recently become more prevalent in the industry due to the combination of economical pricing with the benefits of mechanical packer pressure tolerances. Due to the softness of the components, however, these packers have been known to strip threads at times. All functionality considered, aluminum packers do offer a reasonably price alternative to the steel mechanical packers.
Alchemy-Spetec continues to offer a popular heavy-duty ½” (13mm) and 5/8” (16mm) packer with a soft grade of rubber and washer on the top of the packer that adds extra friction and bite to the concrete when tightened. The heavy-duty packer offering is in steel. These heavy-duty packers are top-mounted ball-valve style and can be converted to button-top valve (see next section and below).
Ball-Valve Location: Perhaps the most misunderstood functionality of mechanical packer design is the ball-valve placement. The ball-valve placement is important because this is the functional element that keeps chemical grout in the substrate as it reacts and creates the density required to adequately seal the substrate. It is an applicator error to remove the packers prior to full product cure. Top-mounted zerk-valve packers allow for port-to-port travel observation. Port-to-port travel is injecting one packer until chemical grout is observed exiting the next packer which does not have an anti-return zerk-valve installed. Once the material is observed coming out of the next packer, the zerk-valve can be installed, and the process repeated. This is only possible with top-mounted ball-valve placement. Another benefit of the top-mount packer is the ability to replace the standard zerk-valve with a button-top-valve. Button top valves, as mentioned above, minimize leakage with a more secure connection to the packer that doesn’t allow the coupler/packer connection to flex.
Bottom-mount ball-valves are less common in the industry. The main benefit of bottom-mount ball-valves is the immediate removal of the top shaft following injection, and subsequent patching of the drill hole with the ball-valve still in the substrate. Bottom-mount ball-valve packers commonly have a bit more leakage and excess chemical grout as the shaft, above the ball-valve, is full of unreacted and unconfined chemical grout.
Alchemy-Spetec supplies a complete offering covering all of the functionalities detailed in this brochure. All top-mount options can be converted to button-top style with by adding the equal quantity of Button-Top Fittings, ACP-2203.
Want more information on building a leak seal methodology?


 Live PolyBadger lifting demos at World of Concrete!


 Alchemy-Spetec welcomes Independent Rep Jim Hunter, covering Michigan, Ohio and Indiana.


.png?width=300&name=rep-blog%20(1).png) Alchemy-Spetec welcomes Independent Rep Tim Avery, covering 15 states in the western US.
Alchemy-Spetec welcomes Independent Rep Tim Avery, covering 15 states in the western US.
 With growth comes the need to be on more job sites offering top quality technical support. In order to keep pace with this demand in 2019, Alchemy-Spetec is seeking an Atlanta-based Technical Services Representative with relevant field experience utilizing high-pressure spray and injection proportioning equipment. This experience should include significant competency with maintenance of referenced equipment.
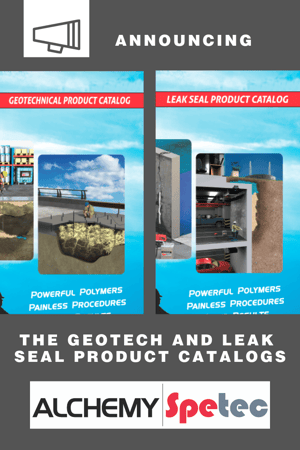 Alchemy-Spetec products will now officially be promoted under the Leak Seal and Geotech lines. As holds true with most mergers (Alchemy Polymers and Spetec formed Alchemy-Spetec in 2017), the integration of products and services can take time. This rebrand will be reflected in two separate product catalogs. One for Leak Seal products and one for Geotech products. We are confident that the two-catalog offering is the best solution for our partners and customers.
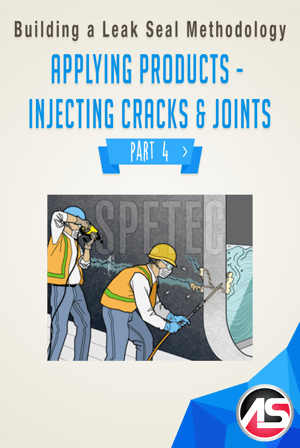 Chemical grouts are commonly injected into leaking cracks and joints to stop the flow of water, sealing off cracks and filling voids. This procedure can be performed in both wet and dry situations, in potable water or wastewater tanks, and in a variety of other structures where water is leaking.
 Once the material is selected, an appropriate piece of equipment must be selected for dispensing the material. For most polyurethane injection resins,